Yum, who wants some delicious vegan, gluten free Thai curry? Bursting in flavor, this sauce is very versatile and so easy to make! I have eaten it with quinoa and with noodles. Of course, you can also go the traditional route and eat it with rice. This makes quite a bit of sauce, so it is enough for several servings. And as long as you know how to chop and stir, you should be able to make this dish! Be careful, because once you start eating it, you might find it hard to stop! This recipe is made without curry powder or paste, since I don’t have any on hand and am reluctant to go buy something that can only be used for one type of dish.
 Ingredients:
- 1 1/2 tbsp olive oil
- 1 medium red onion, 1/2 thinly chopped and 1/2 thickly chopped
- 2 tbsp fresh ginger, minced
- 4 garlic cloves, minced
- 1/4 cup raw creamy almond butter
- 2 tsp turmeric
- 1 tsp ground cumin
- 1 cup water
- 1 can full fat coconut milk
- 3 tbsp lime juice and their zest (about 1 1/2 tsp)
- 1 tbsp maple syrup
(optional)
- crushed red peppers
, to your taste
- 1 package tempeh
- 3 medium carrots, sliced into 1/4″ thin strips
- 1 red bell pepper, sliced into 3/4″ long thin strips
- 1 potato, largely chopped (optional)
- Heat oil in large skillet or wok over medium-low heat and add thinly chopped onion, ginger, and garlic, cooking until tender (about 10 minutes).

- Add almond butter, turmeric, and cumin and stir for a few minutes.
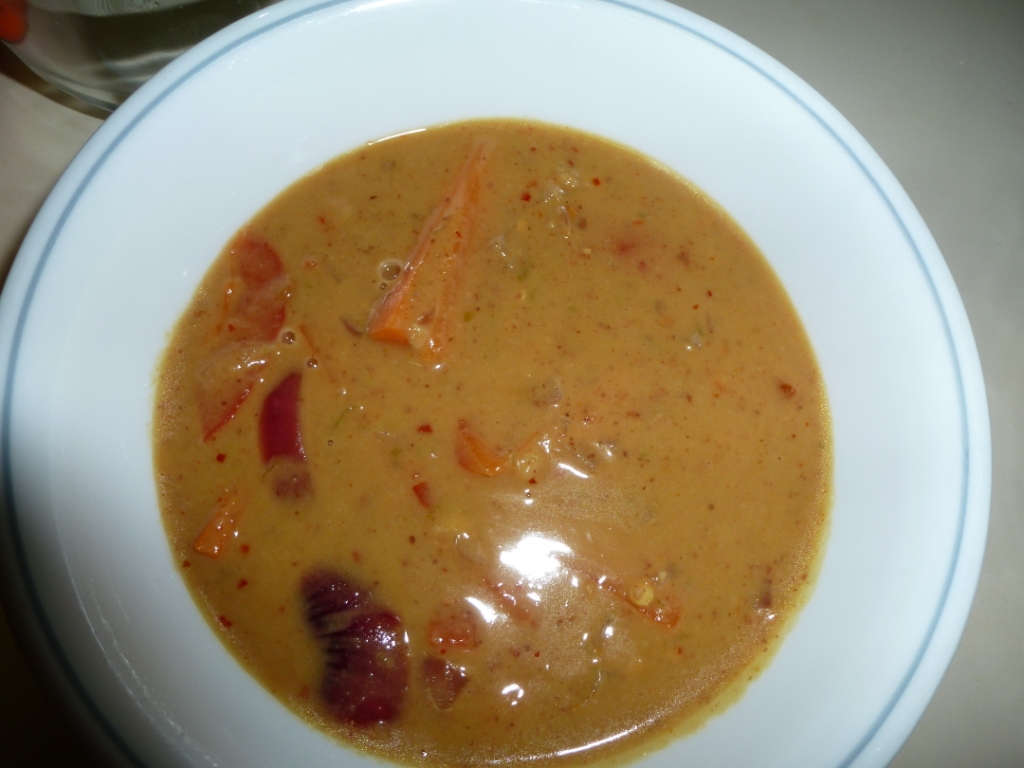
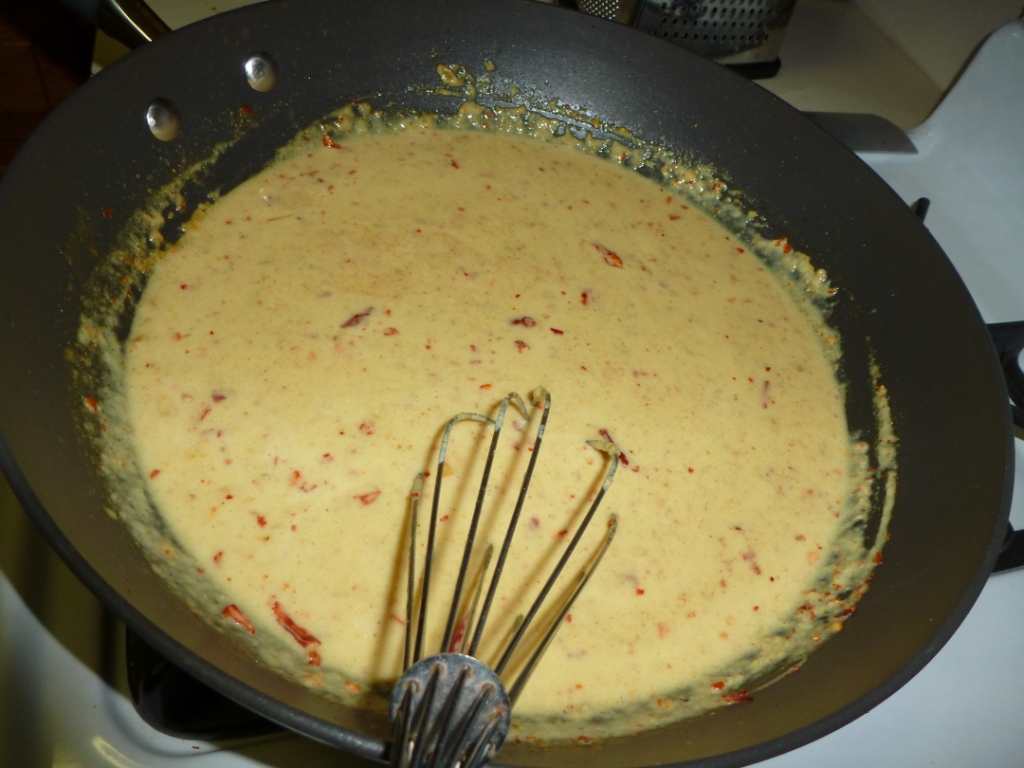
- Whisk in water, coconut milk, lime juice and zest, maple syrup, and red peppers, and bring to simmer. Season with salt.
- Add thickly chopped onion, carrots, and bell pepper, simmering over medium-low heat and stirring occasionally until carrots are tender, about half an hour. Season with salt. If you are adding potatoes, you may want to add a little more water so that there is enough curry to coat all the vegetables.

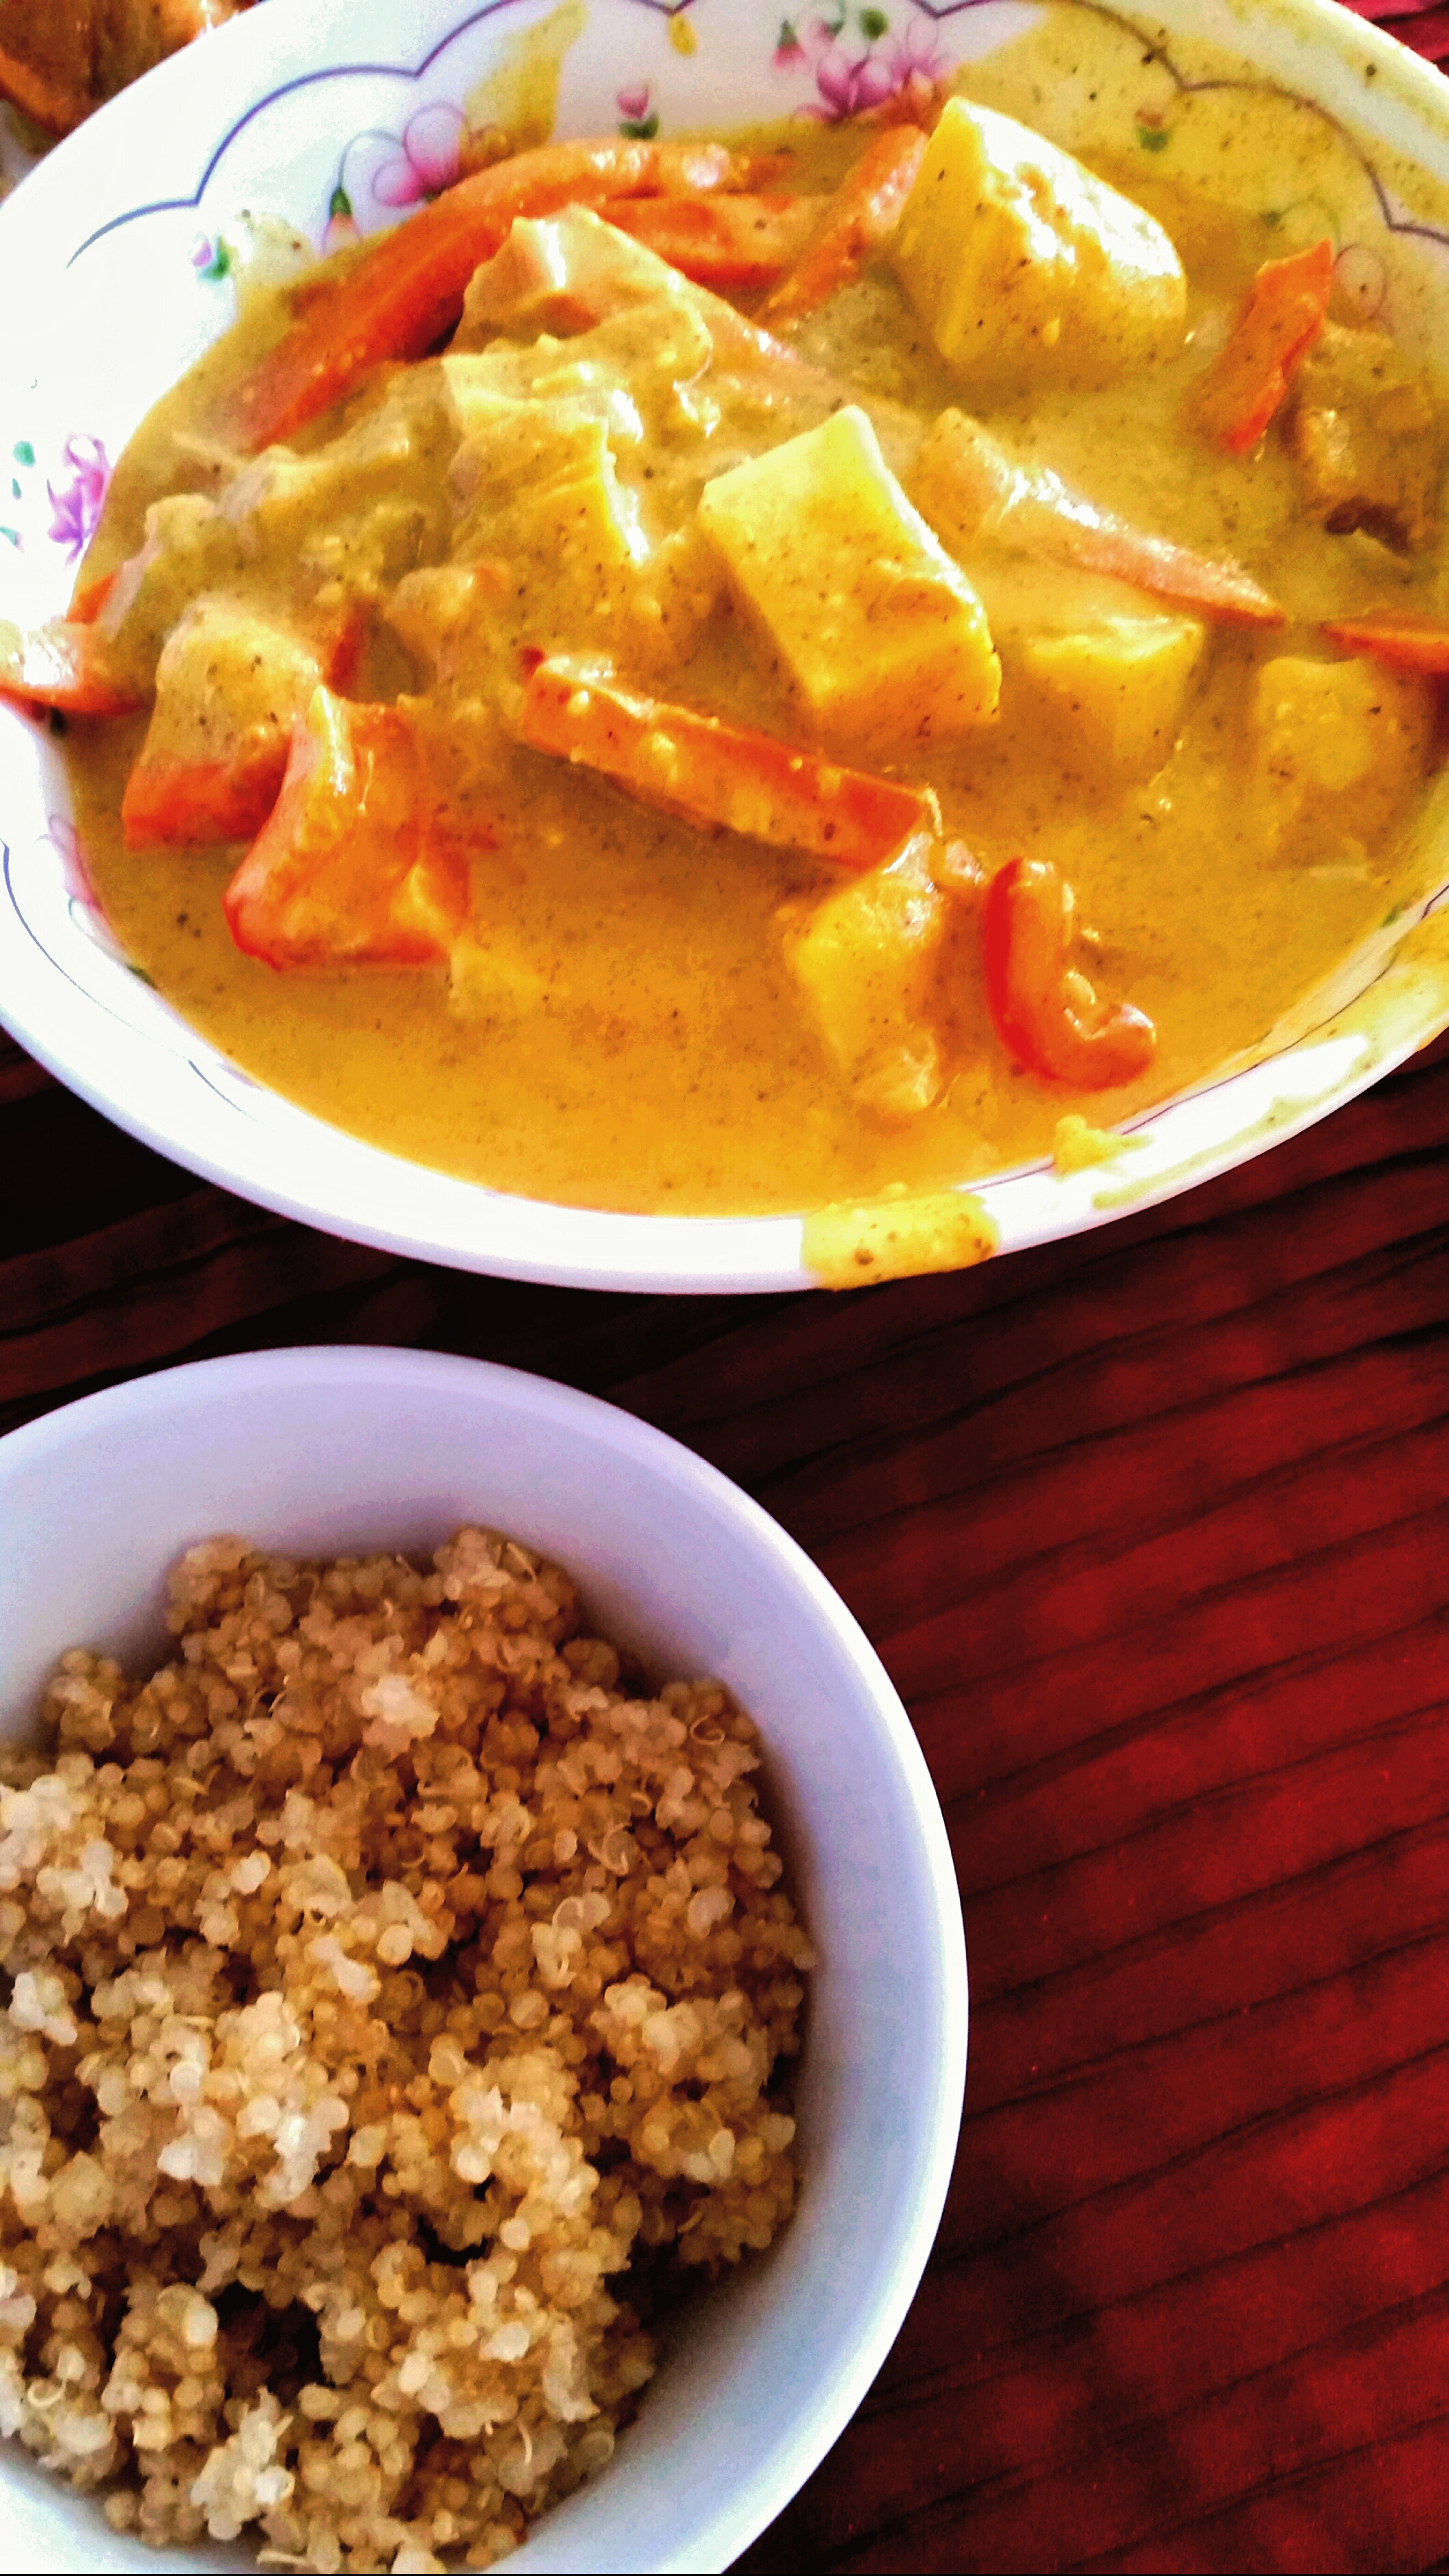
And there you have it! I served mine with quinoa – delicious!