Tag Archives: headstand

How to Naturally Relieve Sinus Congestion

04 Jul 14
admin
, , , , , , , ,
one comments

Sinus congestion is horrible – not being able to breathe, going through boxes of tissues, restless nights, etc.  If you want to relieve it without resorting to medicine, here’s what to do:
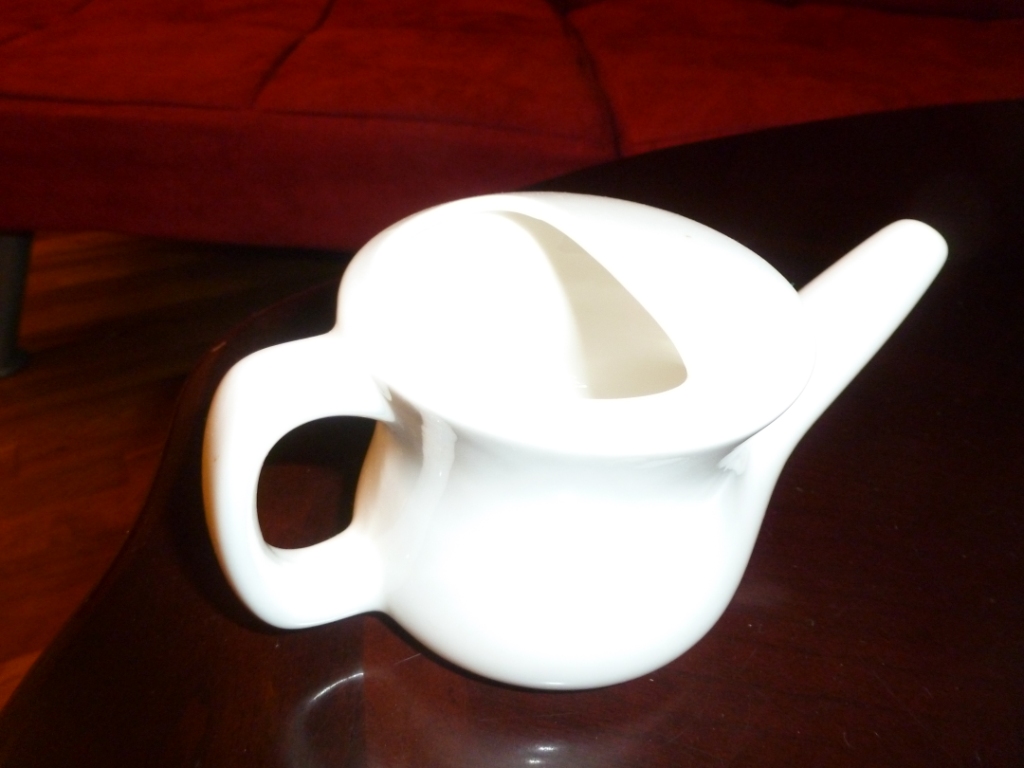
  1. Use a neti pot once a day.  The neti pot will irrigate your sinuses, freeing up some of the congestion and washing out some of the stuff stuck in there that may be causing the congestion in the first place.
  2. Take raw honey and cinnamon 3 times a day.
  3. Drink at least 16 ounces of green juice for breakfast every day.
  4. Get upside down!  Going upside down will also help free up some of the congestion.  It will be hard at first because you won’t be able to breathe at all through your nose but stay upside down and you’ll notice the congestion starts getting looser and moving around.
  5. Massage your face to loosen things up.  I use my fingers to massage the area between my cheekbones and my nose, the area below my eyes, in outward circles.  Also try massaging the area outside of the eye cavity, just above the nose but below the brows, as well as your cheekbones.
  6. After a hot shower, immediately blow your nose.
  7. AVOID DAIRY!  Dairy already causes mucus buildup in your body (albeit in the colon, not the nose) but you will make your body work even harder to get rid of the sinus congestion if you consume dairy.  In fact, you should ideally stick to as much of a raw vegan diet as you can.  Also try eating spicy food.

And there you go!  If you do all of these, you’ll notice major strides within a day or two, and should be able to completely kick the congestion’s butt soon after that.


P1000775


Previous Detox Post – Benefits of Raw Honey and Cinnamon

Next Detox Post – Easy Morning Detox – Warm Lemon Water (With Cayenne)

Knock Out That Headstand!

04 Jul 14
admin
, , ,
No Comments

Headstands can be intimidating at first.

 photo2


Forward folds will help you get used to the idea of being upside down.


Once you get used to being upside down, it’s now just a matter of getting your body positioned so you can get your legs in the air.


So here are some tips:down dog

  • Usually we are taught to get into it from downward dog.  Whether or not you are in headstand with your forearms on the ground or in tripod headstand with just your hands on the ground, you want your elbows to be no wider than your shoulders.  An easy way to measure is to bend your elbows and grab the opposite elbows with your hands.  That’s the width.  Do not go wider than that.  You will risk crunching into your shoulders.  You want to gain your strength by pulling your shoulders away from your ears and push into your hands or forearms.  If your forearms are on the ground, you want to feel as if you can lift your head off the ground.


  • If you’re in tripod, make sure your arms are at a 90 degree angle and your elbows are shoulder-width apart.
  • Bring your feet in until your hips are above your shoulders.  That is where your stability will be.  Lock that position in by keeping your tailbone tucked in and your mula bandha (pelvic muscles) engaged (squeeze them).victoria (4)
  • Once that happens, I find the easiest way to get into it is to bend one leg into your body, lifting that foot off the ground, then the next.  The reason this is easiest is because your center of gravity has little danger of shifting.  If you’re doing tripod, you can rest your knees on your upper arms.
  • Then, slowly raise your legs up.  Engage your legs.  I find the best way to do this is to flex your feet as if you’re standing on the ceiling.  Keep your tailbone tucked!  Engage your belly and your pelvic muscles!  Stay focused on one spot somewhere.
  • Don’t let stray thoughts into your mind.
  • Practice, practice, practice!


Previous Yoga Post – Downward Facing Dog

Next Yoga Post – Standing Bow Tips