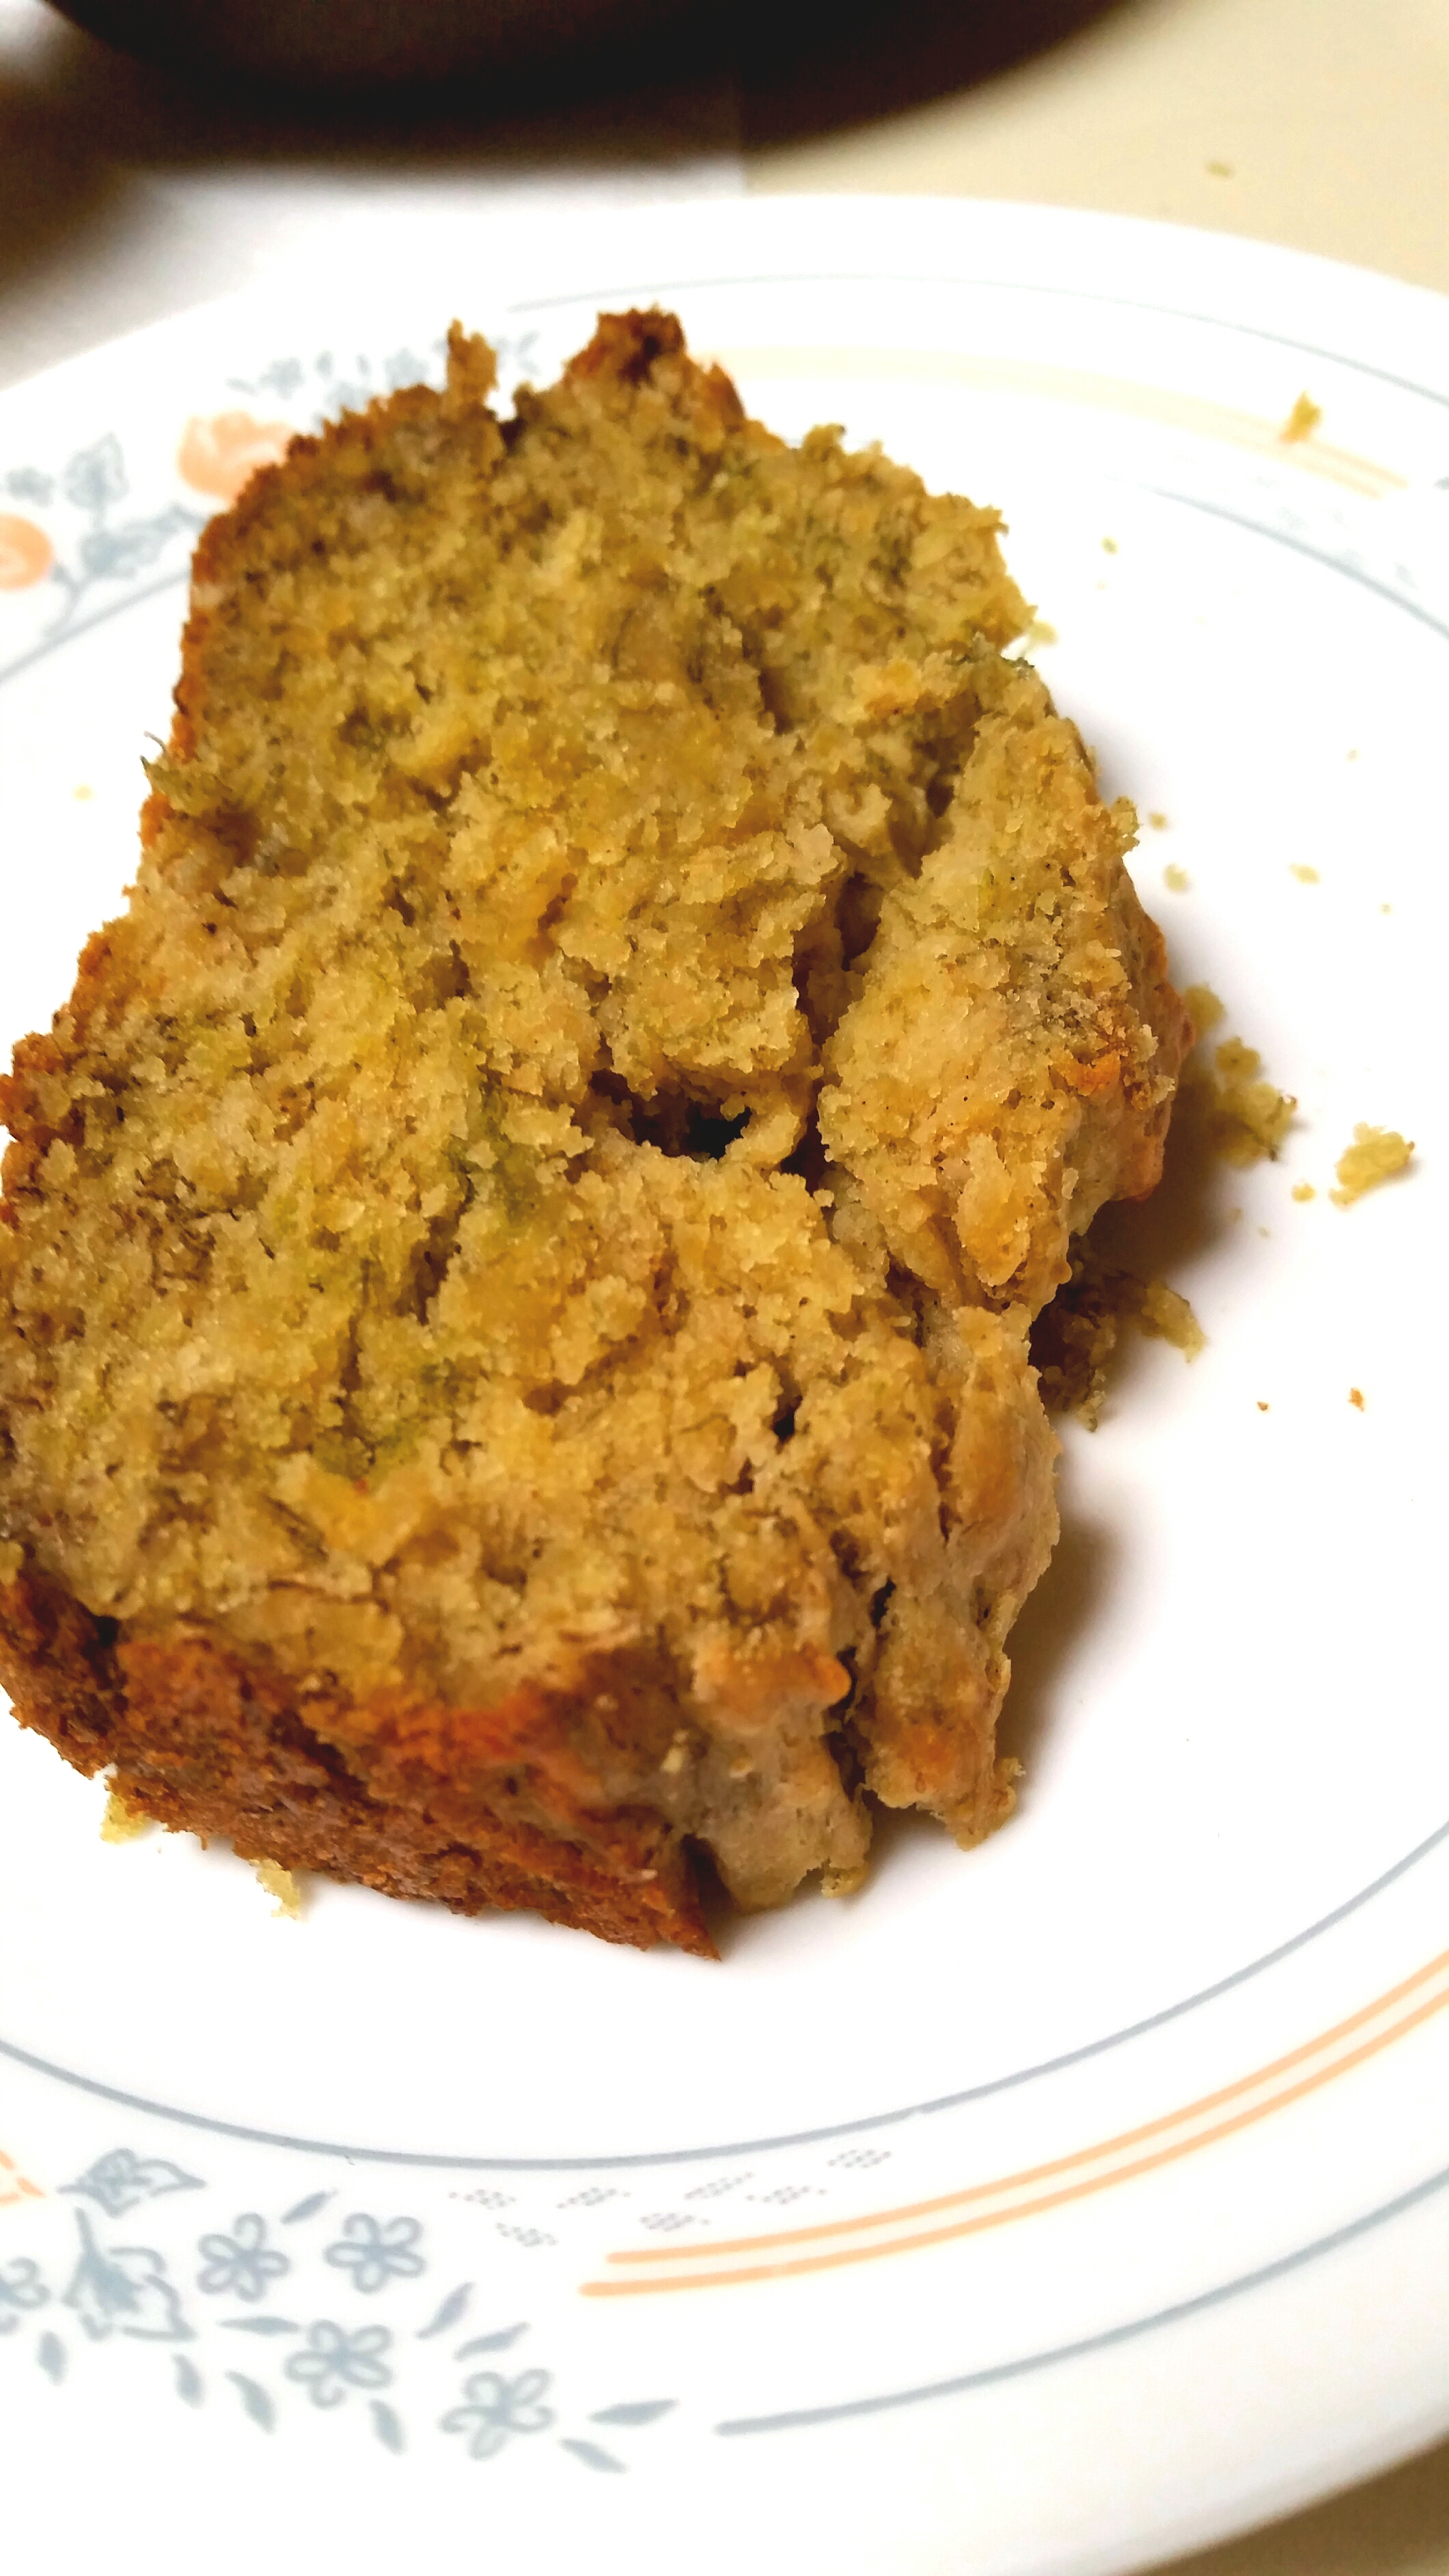
Fall weather is approaching and my home was getting cold, so I had to bake something to warm up the place. Luckily, I always keep a batch of bananas ripening in my home (because you can always freeze them for later use) so it was perfect for some glorious gluten free, vegan banana bread! The bananas make the bread naturally sweet and moist. What I love about this bread is that it’s pretty much guilt-free. I can eat half the loaf and not feel guilty because I’m getting potassium as well as protein (about 39 grams per loaf)!
I also added in some wheatgrass powder for an additional nutritional boost, which is totally masked by the rest of the wonderful flavors in the bread! Wheatgrass has a TON of benefits, including a ton of minerals, vitamins A, B-complex, C, E, I, and K, protein, 17 amino acids (the building blocks of protein), chlorophyll (a blood builder), and an enzyme to slow down the aging process. It neutralizes toxins in the body, helps purify the liver, and improves digestion, among so many other benefits!
As with all my recipes, if you click on the links in the ingredients, you’ll be directed to the Amazon page for that ingredient!
Ingredients:
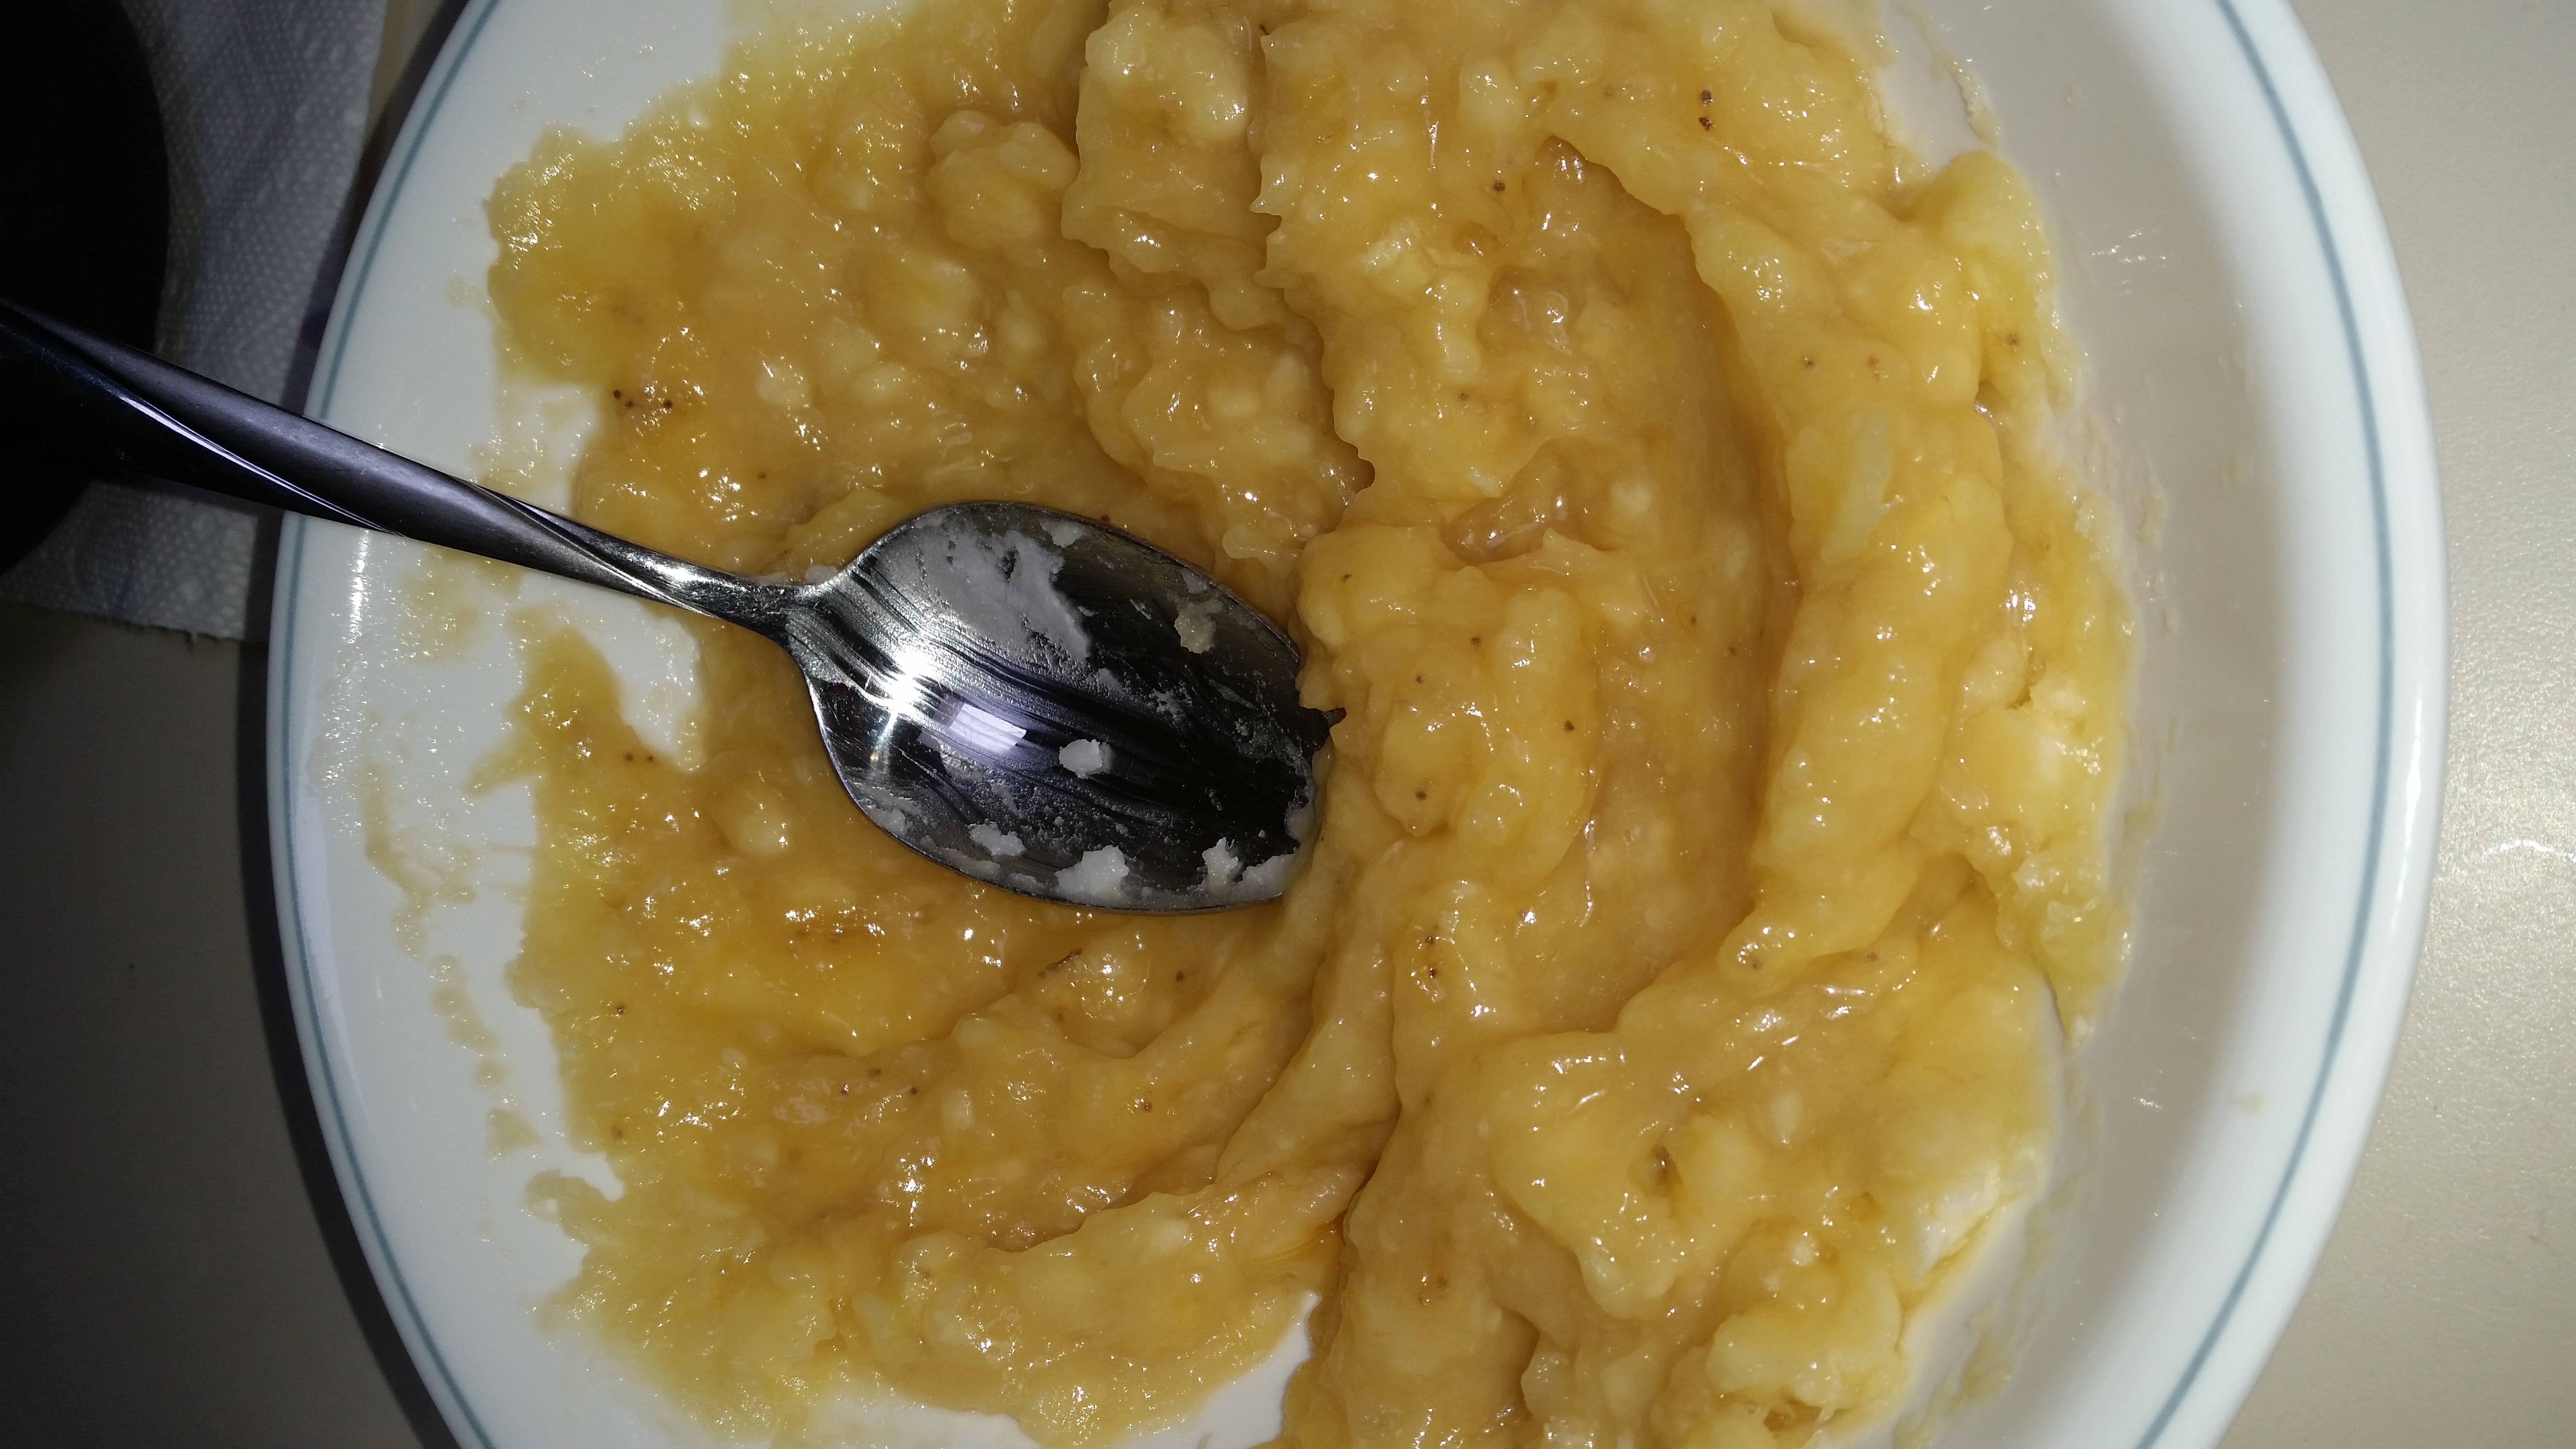
- 4 medium, very ripe bananas, mashed
- 1/2 cup coconut oil
, melted* (plus extra to grease the pan)
- 1/2 cup coconut sugar
- 1 tsp vanilla extract
- 1/4 tsp cinnamon powder
- 1/8 tsp or a pinch ground nutmeg
- 1 1/2 tsp baking powder
- 1/2 tsp baking soda
- 1 1/2 cups gluten free oats
, ground into flour
- pinch sea salt
(optional)
- 1 tbsp wheatgrass powder
and 1 tbsp maple syrup
(optional)
- Preheat oven to 350 degrees.
- Grease a loaf pan with coconut oil.
- Mash the bananas. You can do it by hand or put it in a blender.
- Mix in melted oil, sugar, vanilla extract, cinnamon, and nutmeg.
- Fold in baking powder, baking soda, oat flour, and salt.
- Add in wheatgrass powder and maple syrup, if using, and stir until combined.
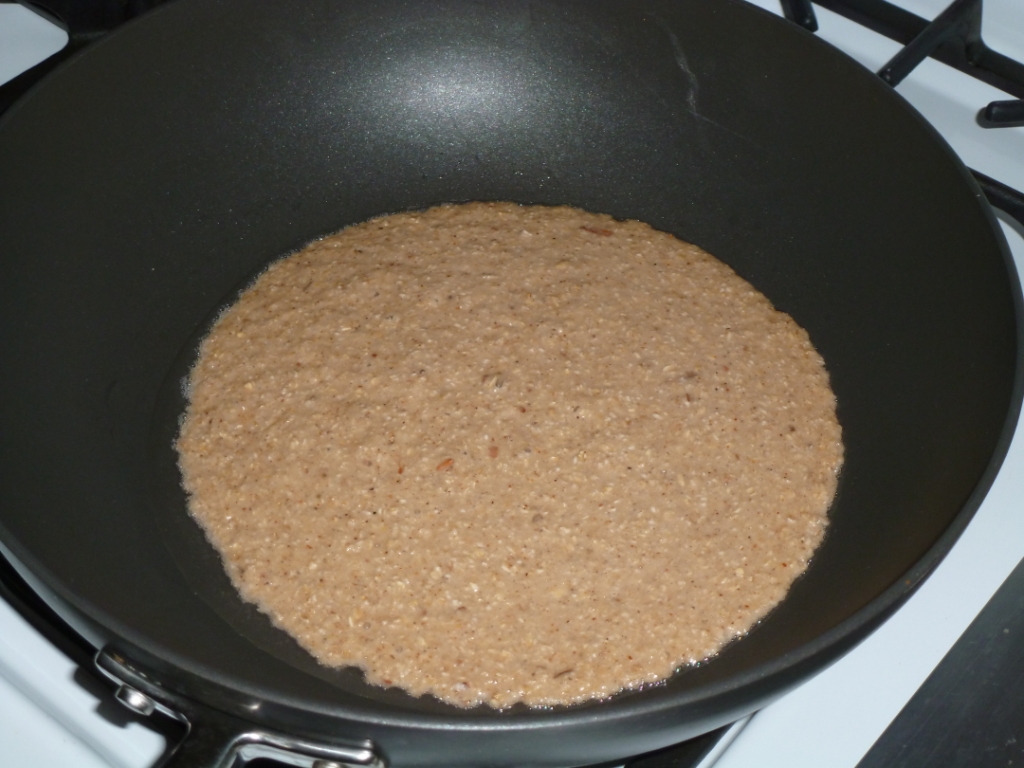
- Pour into loaf pan and bake for 35-40 minutes.
- Serve warm. Coconut oil can solidify at cooler temperatures, which would make the bread dense. Just reheat the bread when serving. I suggesting wrapping a slice in aluminum foil and placing it in the toaster oven until the slice is heated thoroughly.
* To melt coconut oil, place oil in small bowl. Set the bowl over a cup of hot water. The steam from the water will heat the bottom of the bowl, which will melt the coconut oil.
Try not to eat it all at once!