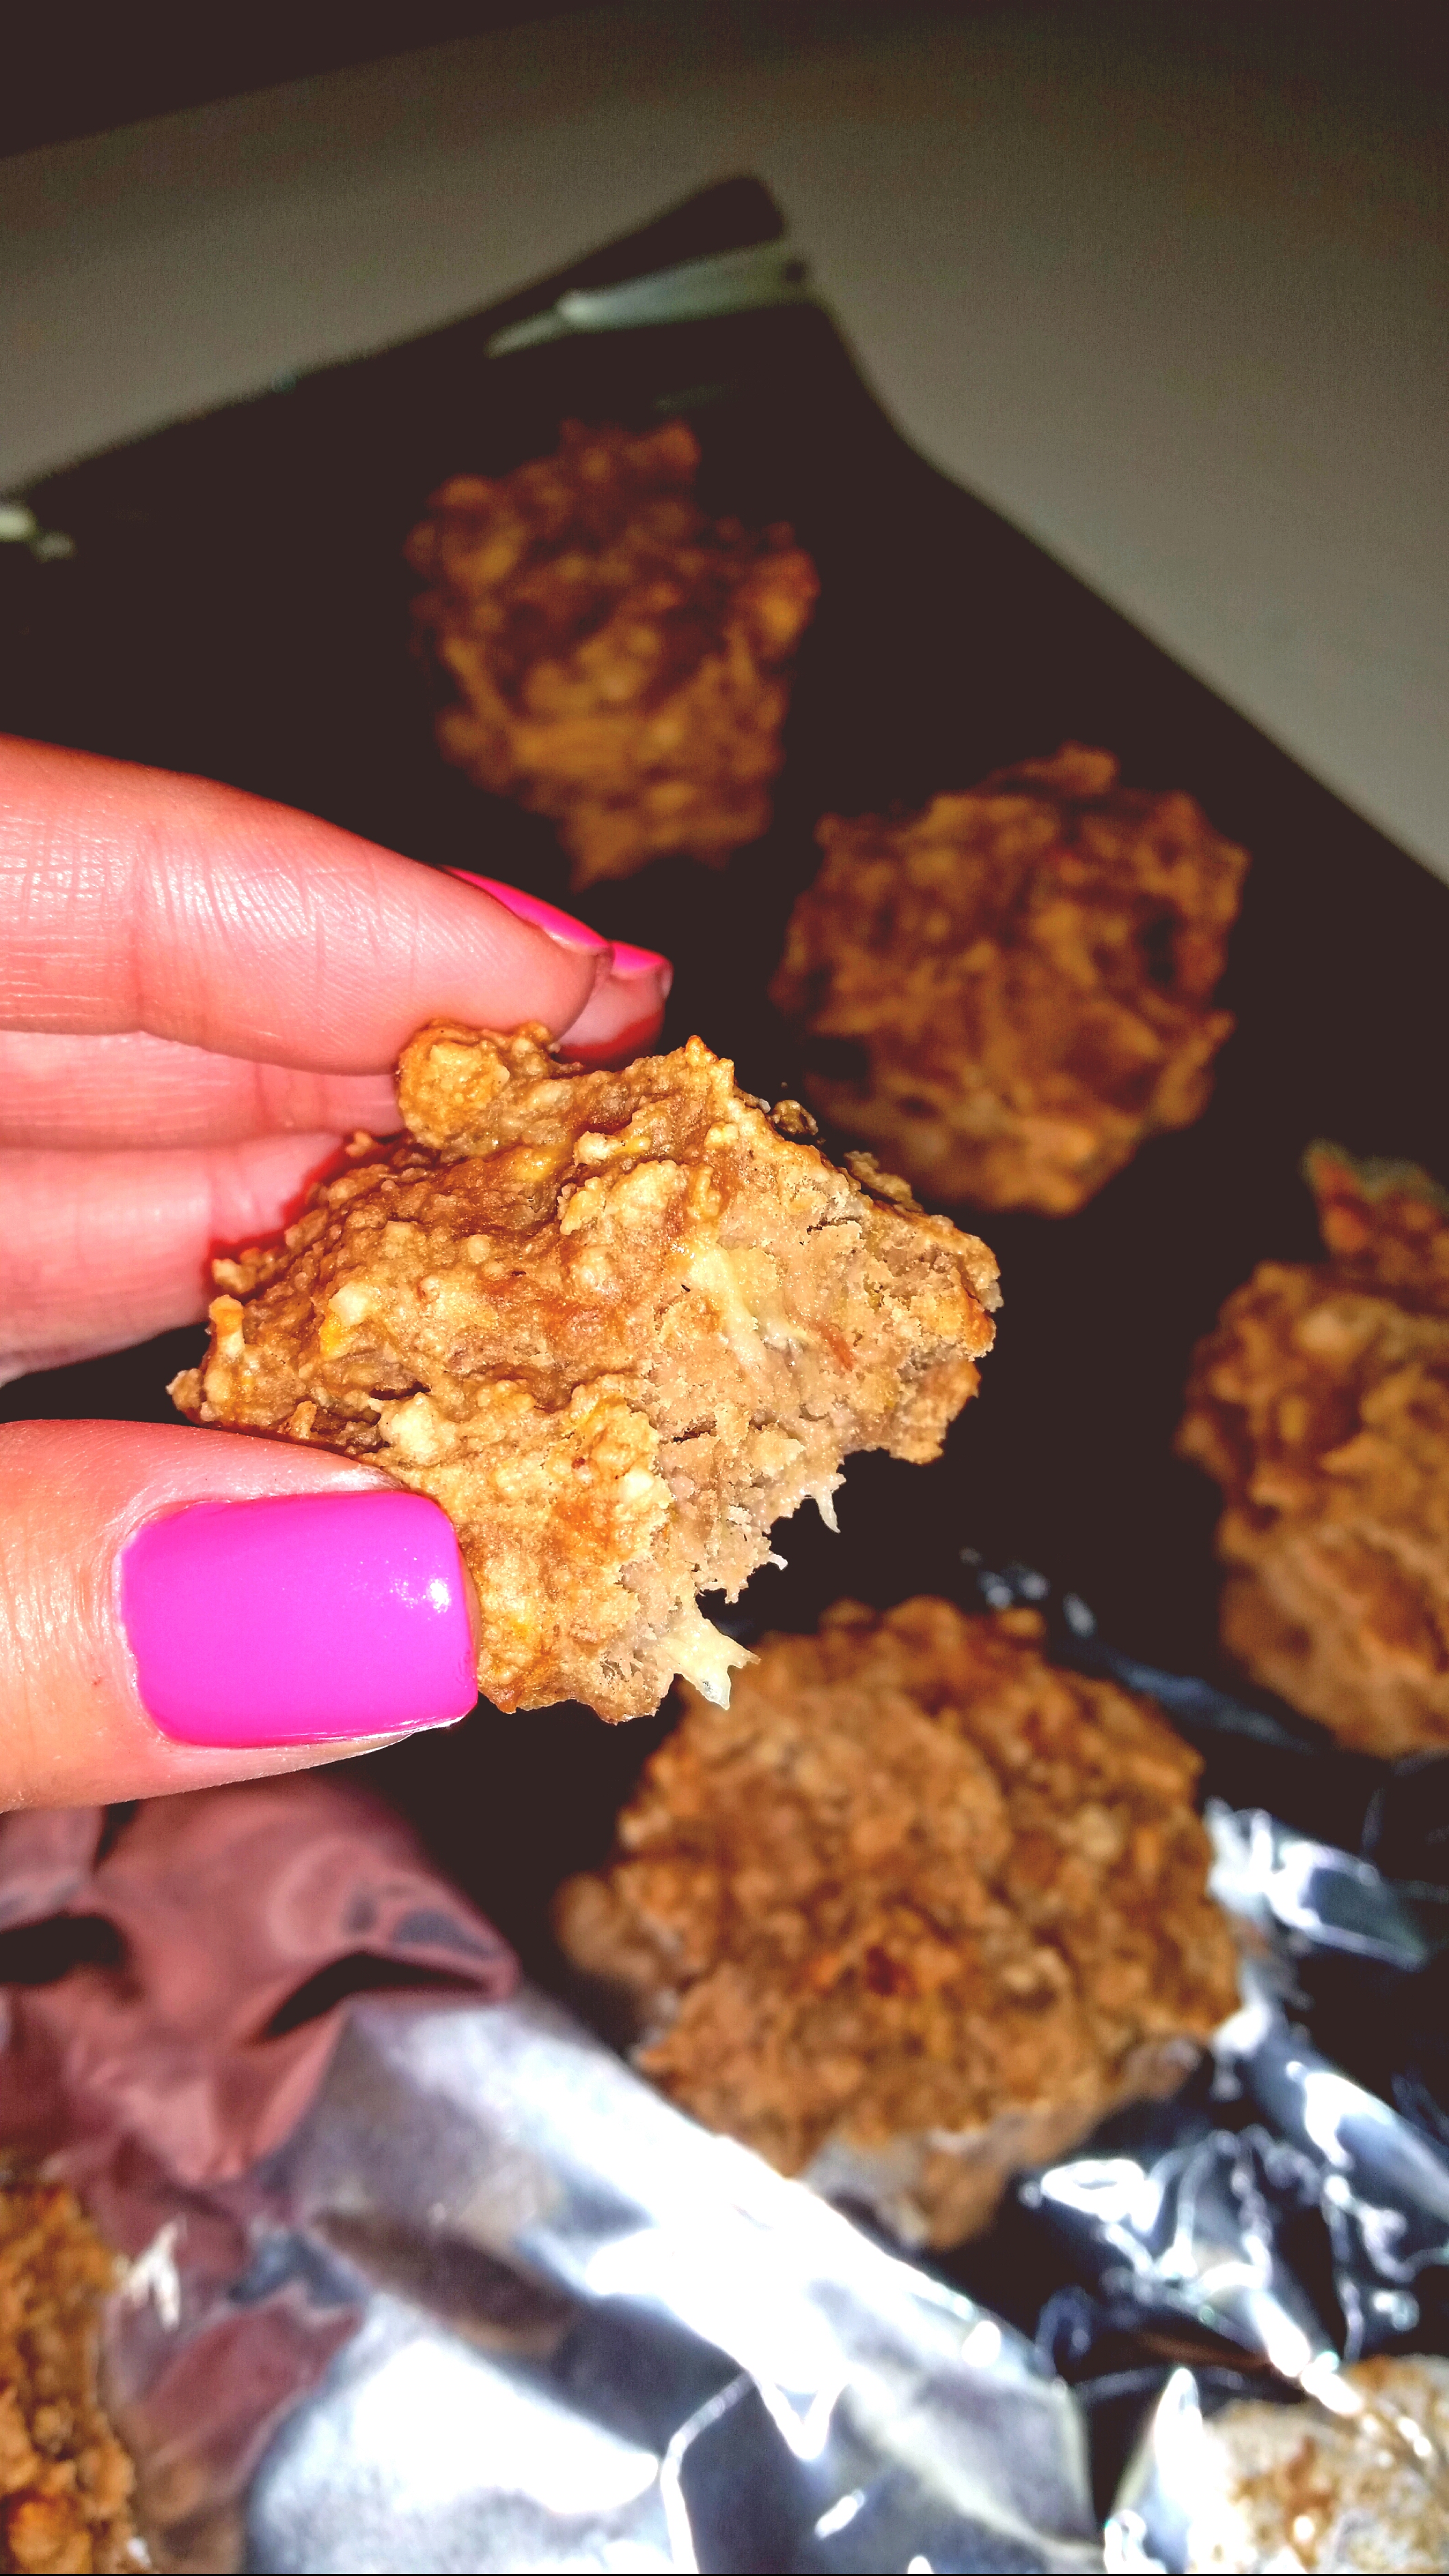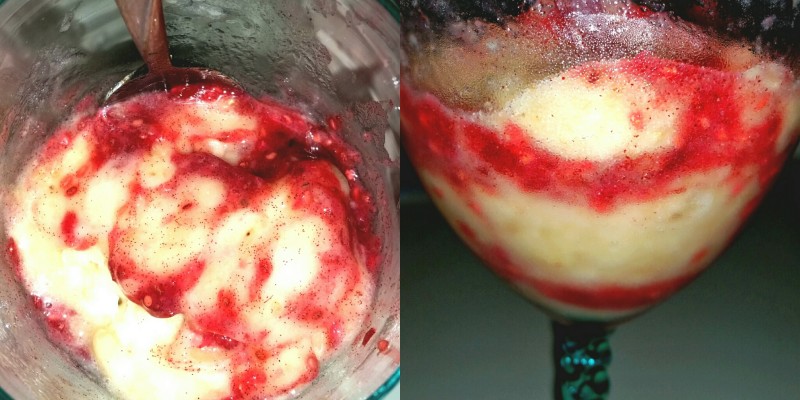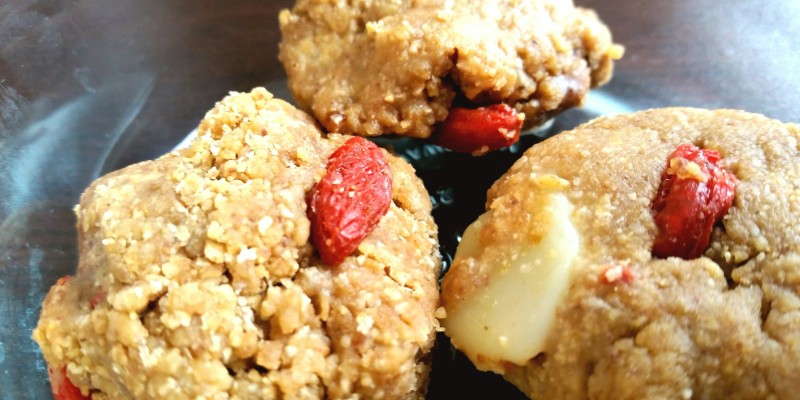
I’ve been trying to find ways to sneak in more protein, and this is a wonderfully sweet way! The recipe makes about 24 cookies and you don’t even need to bake them! I added the goji berries for a fruity nutritional kick but if you prefer, use something else – raisins, dried cranberries, etc. No need to be precise with the ingredients, since you’re not baking it.
As always, if you can’t find the ingredients, just click on the ingredient you want and you will be taken to the appropriate Amazon.com page.
White Chocolate Ingredients:
- 3/4 cup raw cacao butter
, grated or finely chopped
- 2/3 cup coconut oil
- 1/4 cup coconut sugar
- 1 tsp vanilla extract
- To make it the raw vegan way, boil some water and it put in a small bowl or cup. Place the butter in a bigger bowl and place the bowl over the smaller one so that it covers it entirely, heating up the bottom of the bigger bowl. Stir butter constantly until it completely melts. Otherwise, double boil the butter on medium low to low heat until it melts.
- Add oil until the butter and oil are combined.
- Whisk in the coconut sugar and vanilla extract.
- While still warm, place them in small molds and place in freezer for at least half an hour before removing from the molds. If you don’t have small molds, I just created a large rectangle with aluminum foil on top of a large cookie sheet and folded up the sides, then poured a thin layer inside, and placed the entire cookie sheet in the freezer.
- Keep refrigerated.
Cookie Ingredients:
- 1/4 cup raw almonds
+ 1/2 cup filtered water
- 3 cups gluten free oats
, ground into flour
- 2 scoops vegan protein powder (I use this one
)
- 2 tbsp coconut sugar
- 1/2 tsp sea salt
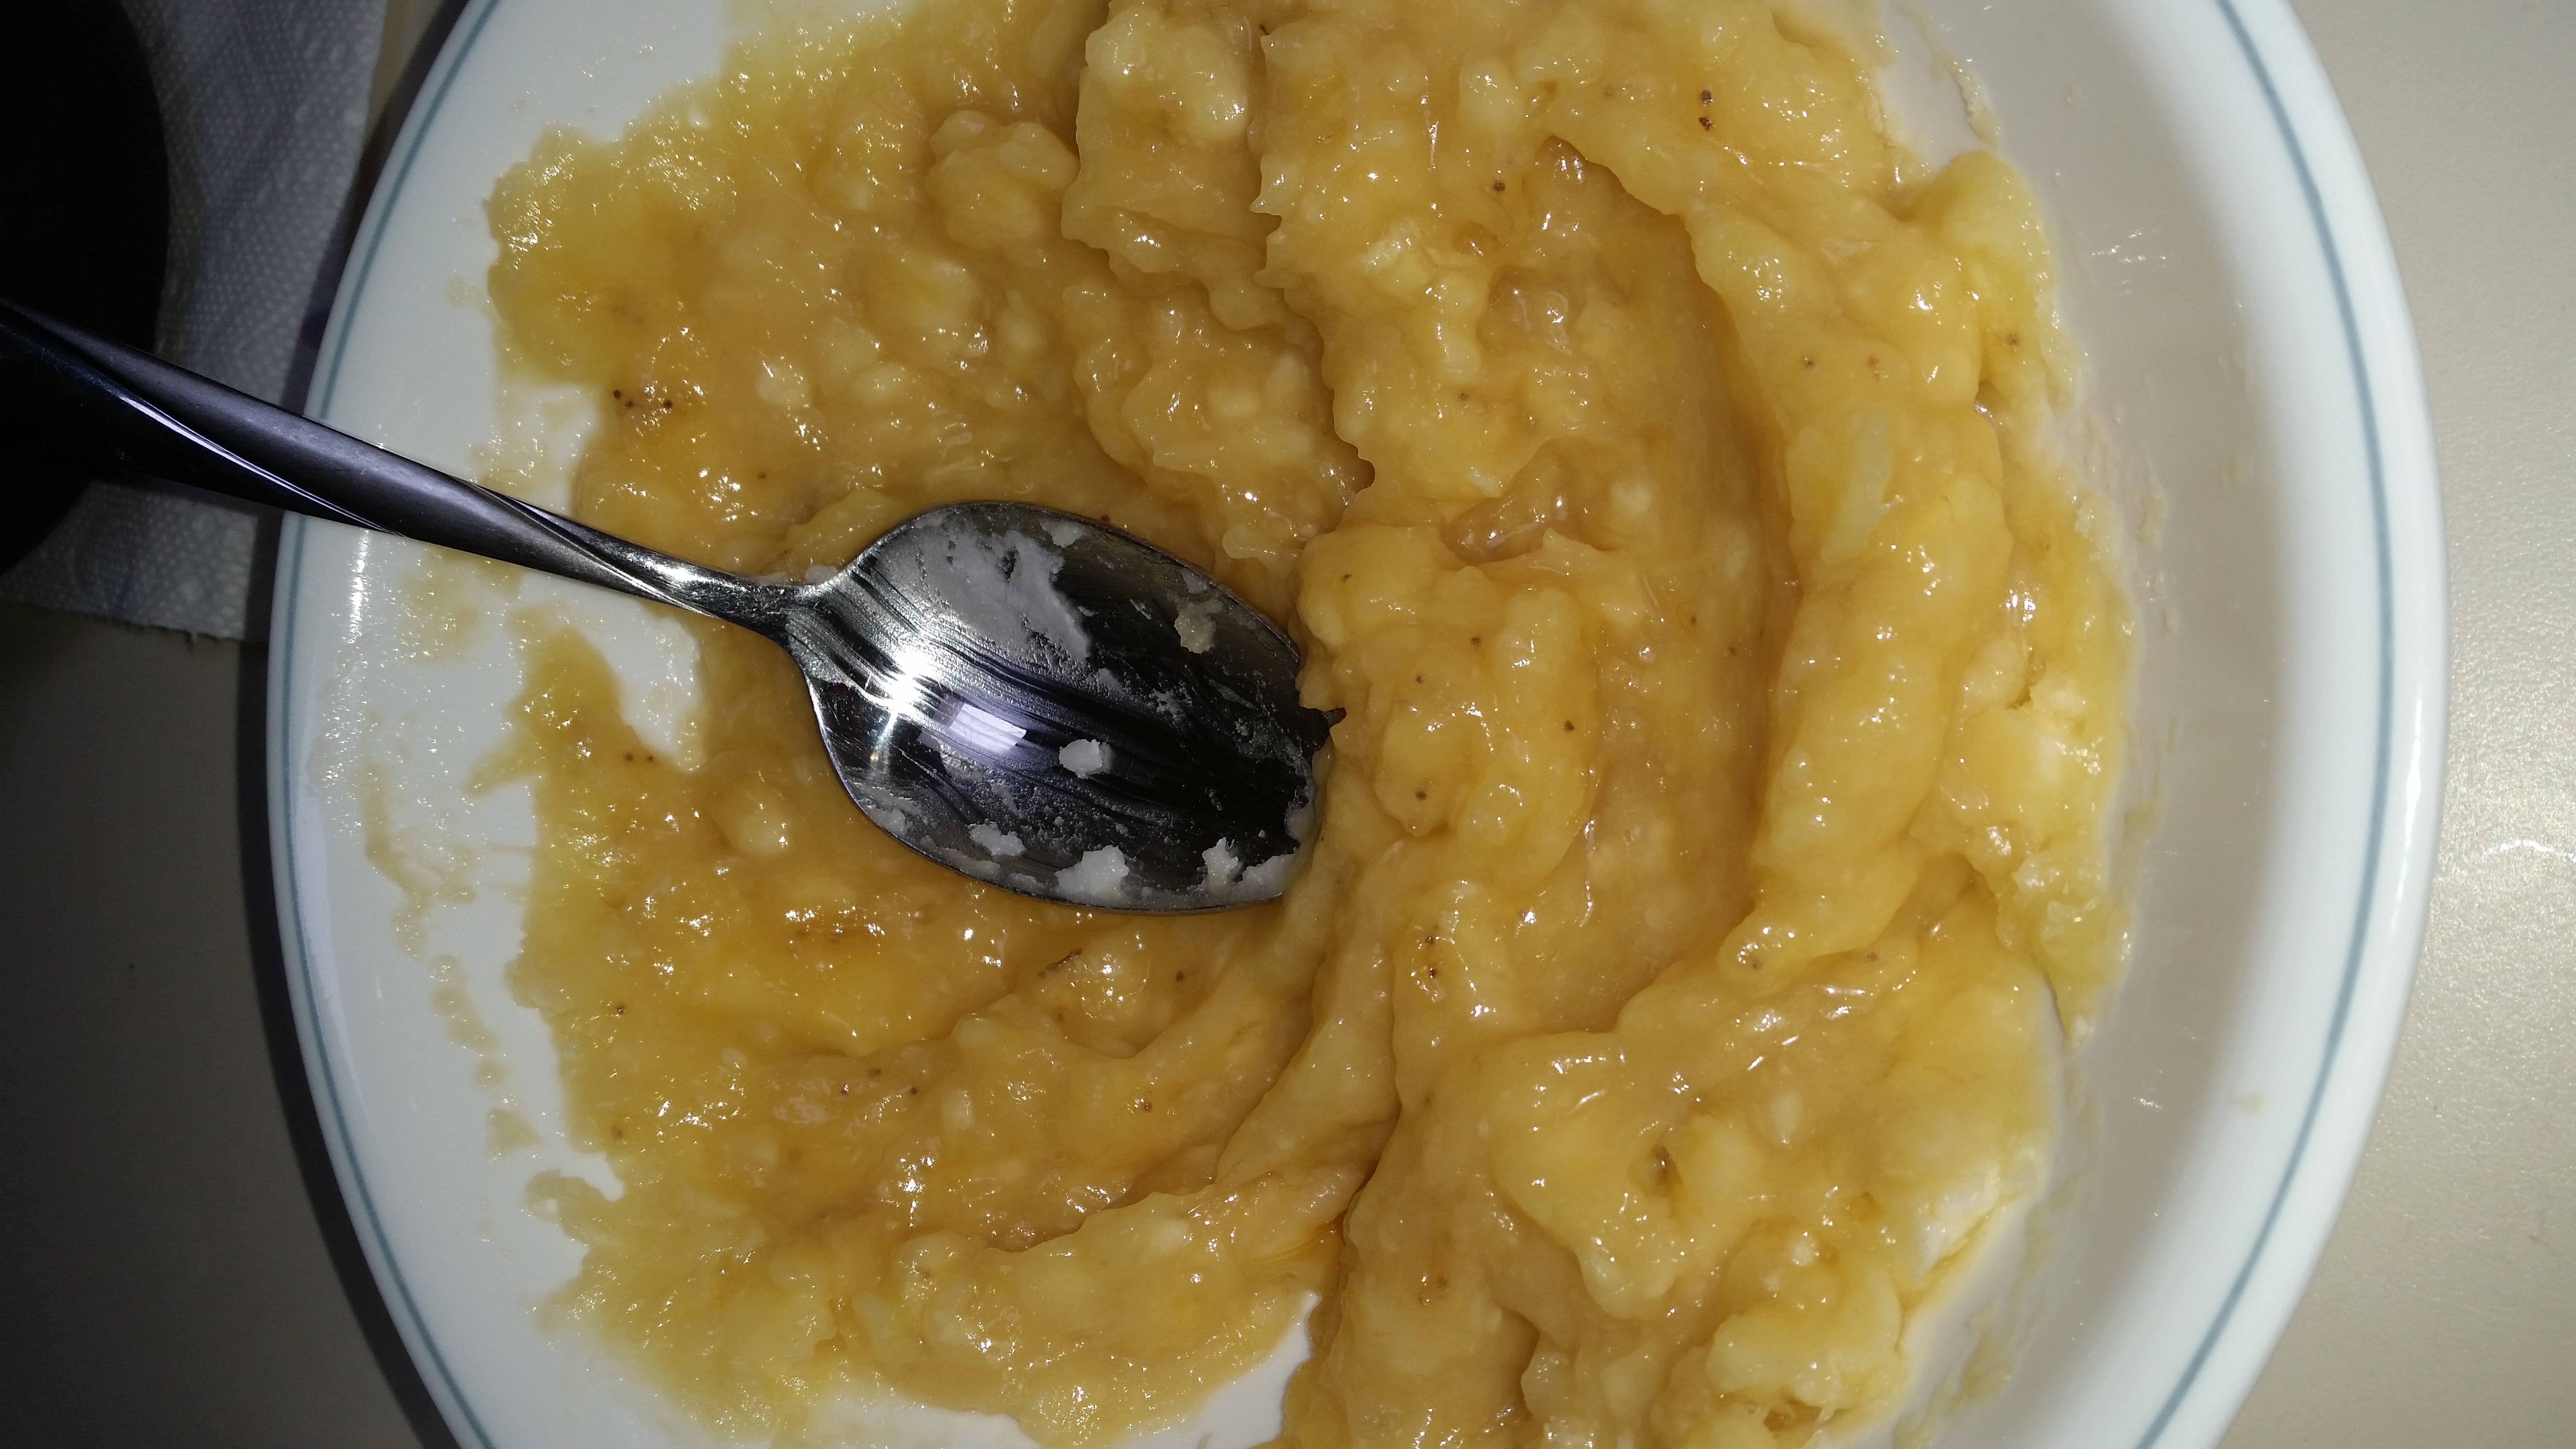
- 3/4 cup raw creamy almond butter
- 3/4 cup maple syrup
- goji berries
- Blend almonds and water and strain through a cheesecloth or nut milk bag to create almond milk. If you don’t know where to find a nut milk bag, click here
. Set aside.
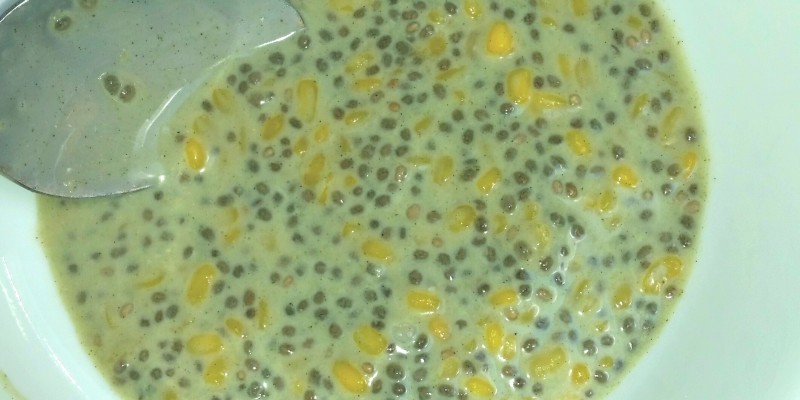
- Combine flour, protein powder, sugar, and sea salt.
- Blend almond butter and maple syrup and then melt it the same way you did for the white chocolate. Stir into flour mixture until crumbly.
- Add almond milk, a little at a time, until it forms a dough. You don’t necessarily need to use all the milk.
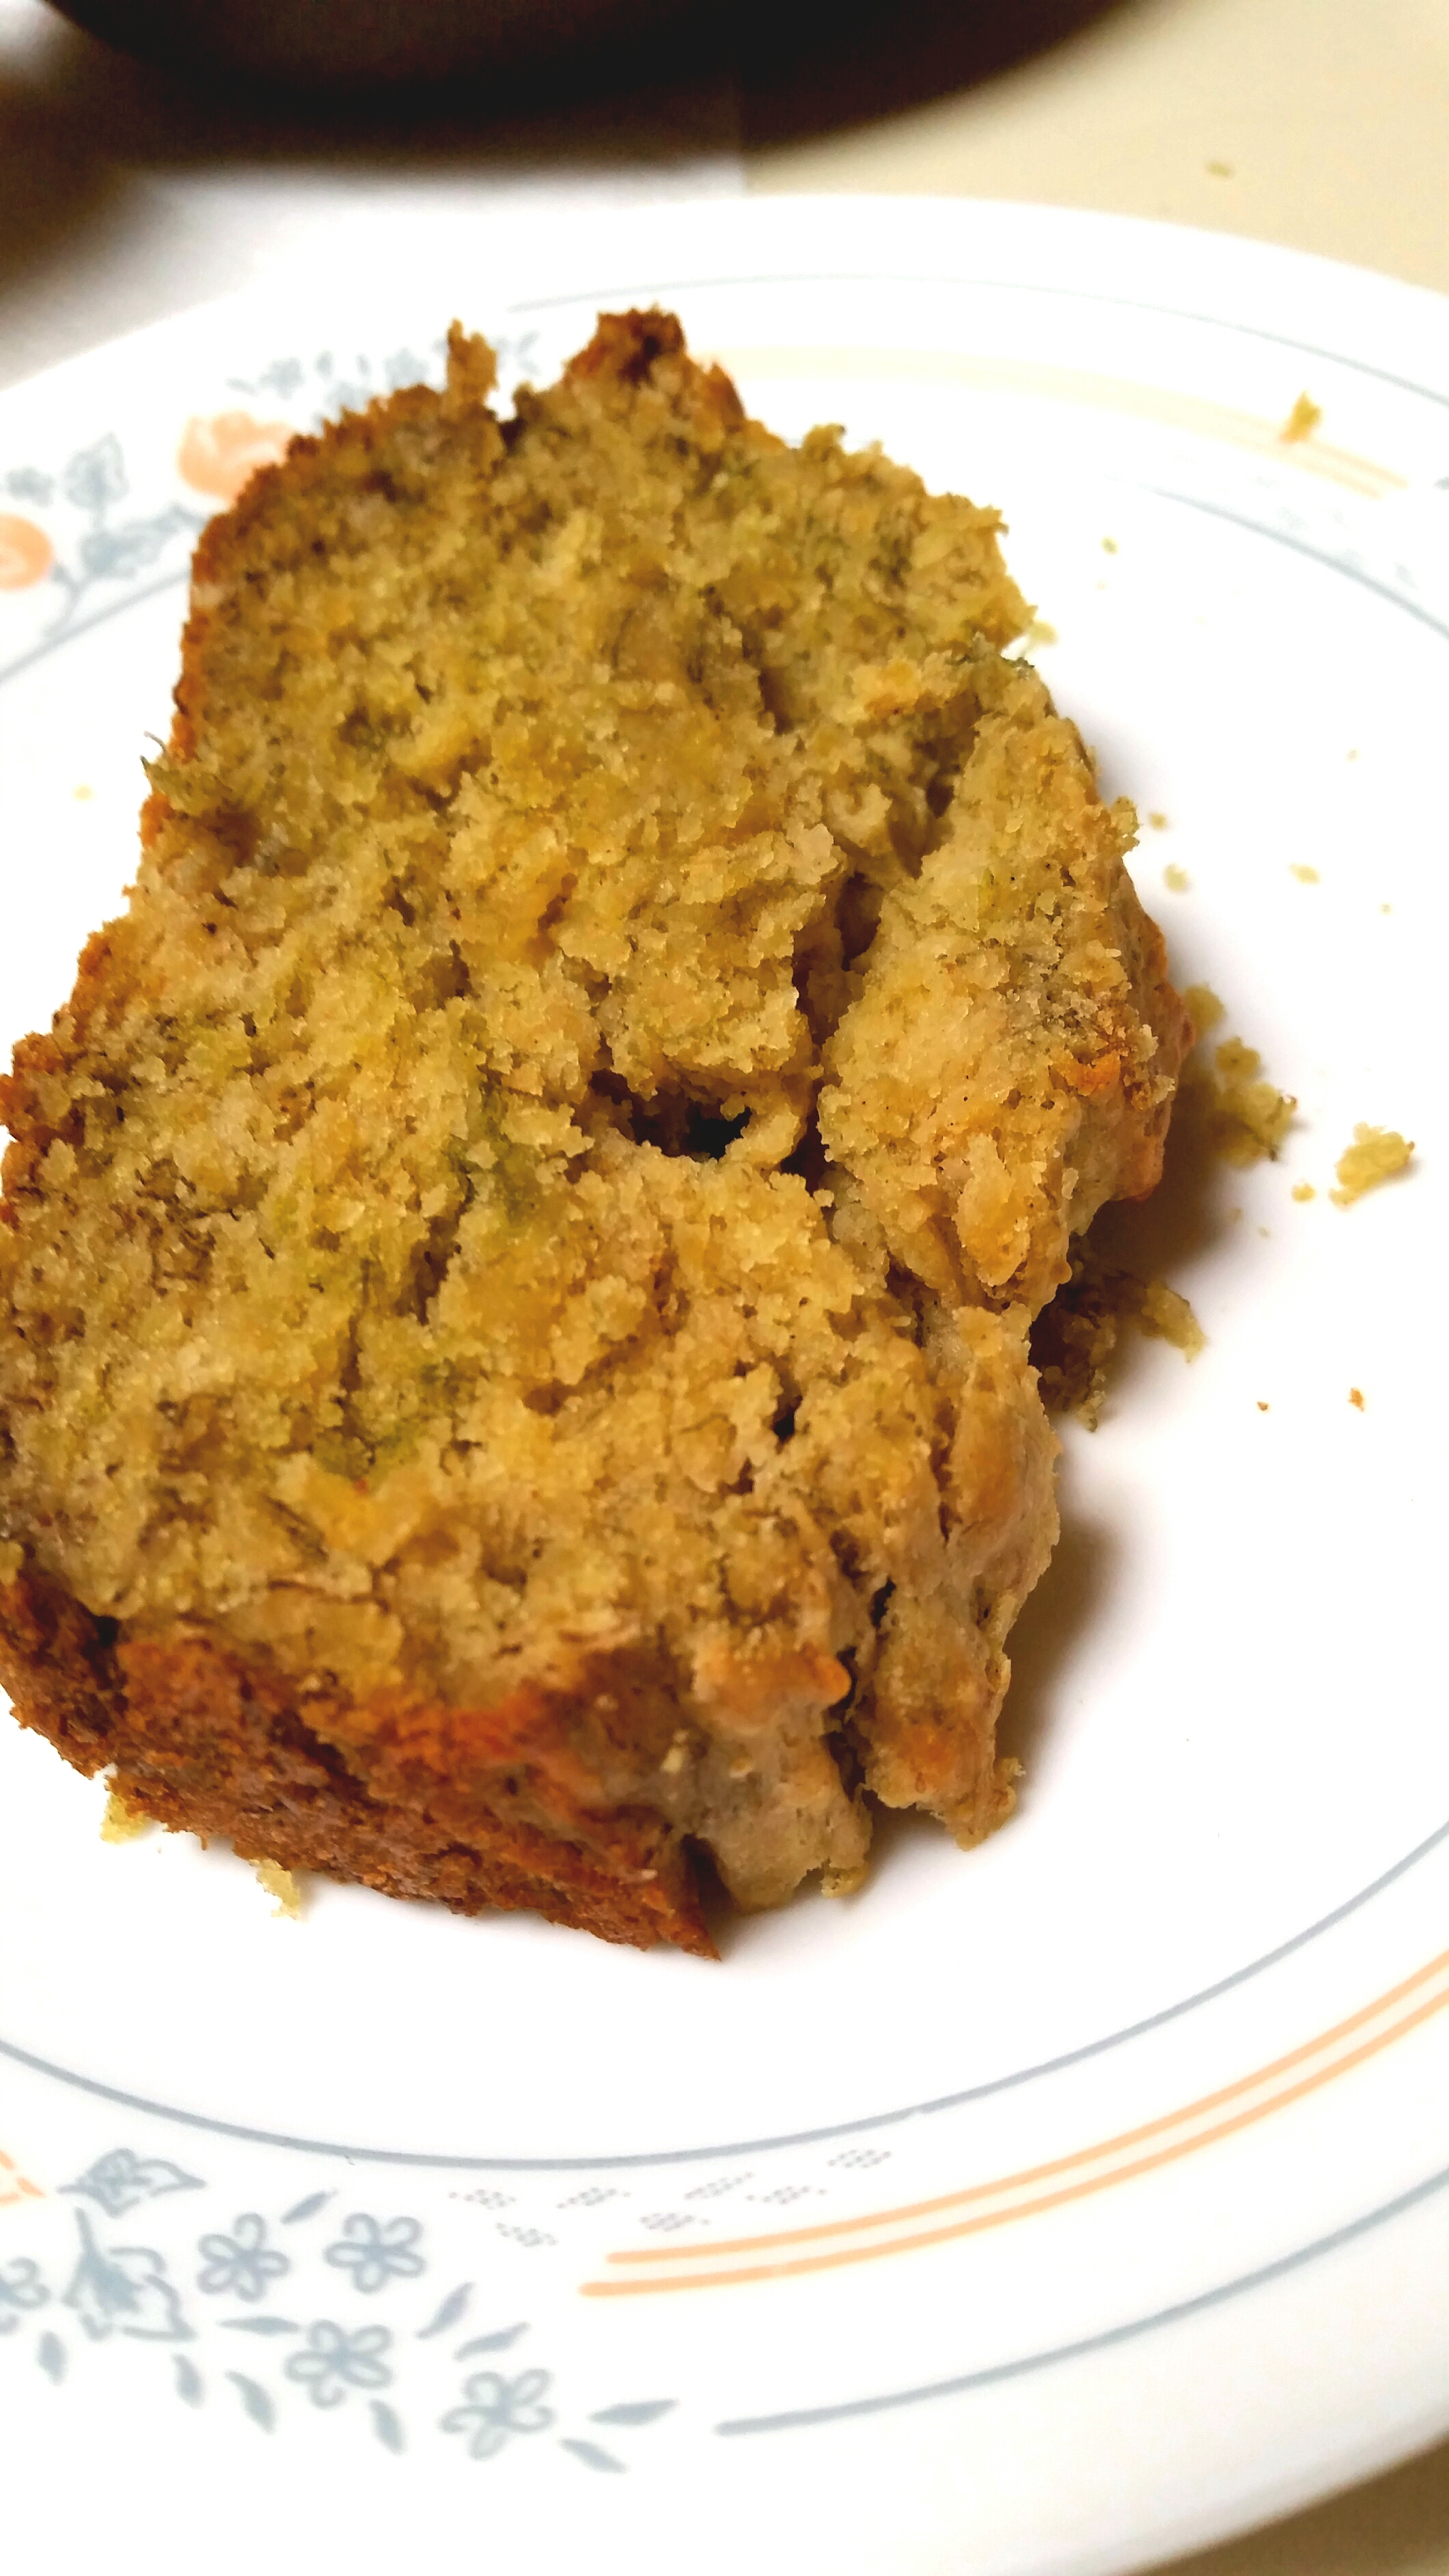
- Stir in white chocolate pieces and goji berries.
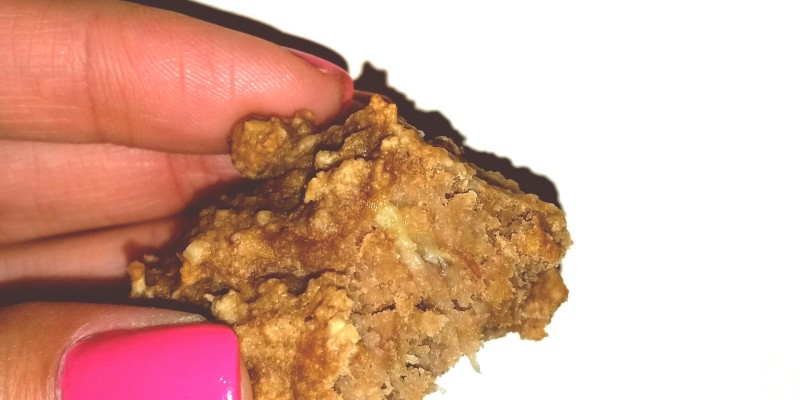
- Roll into balls and press down onto a cookie sheet lined with baking paper or aluminum foil. Refrigerate for at least 30 minutes to set before serving.