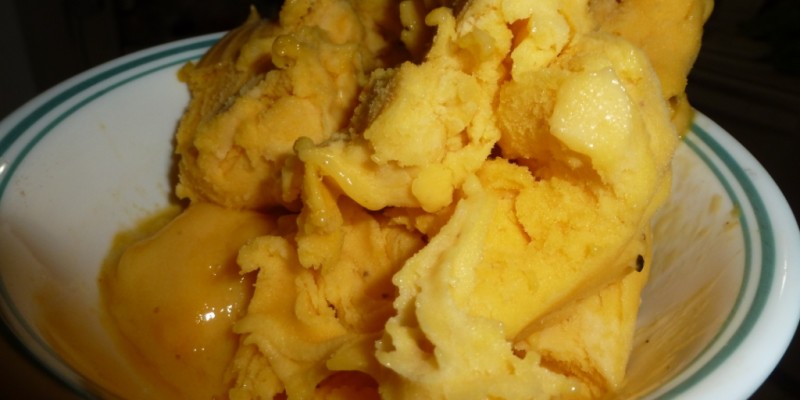
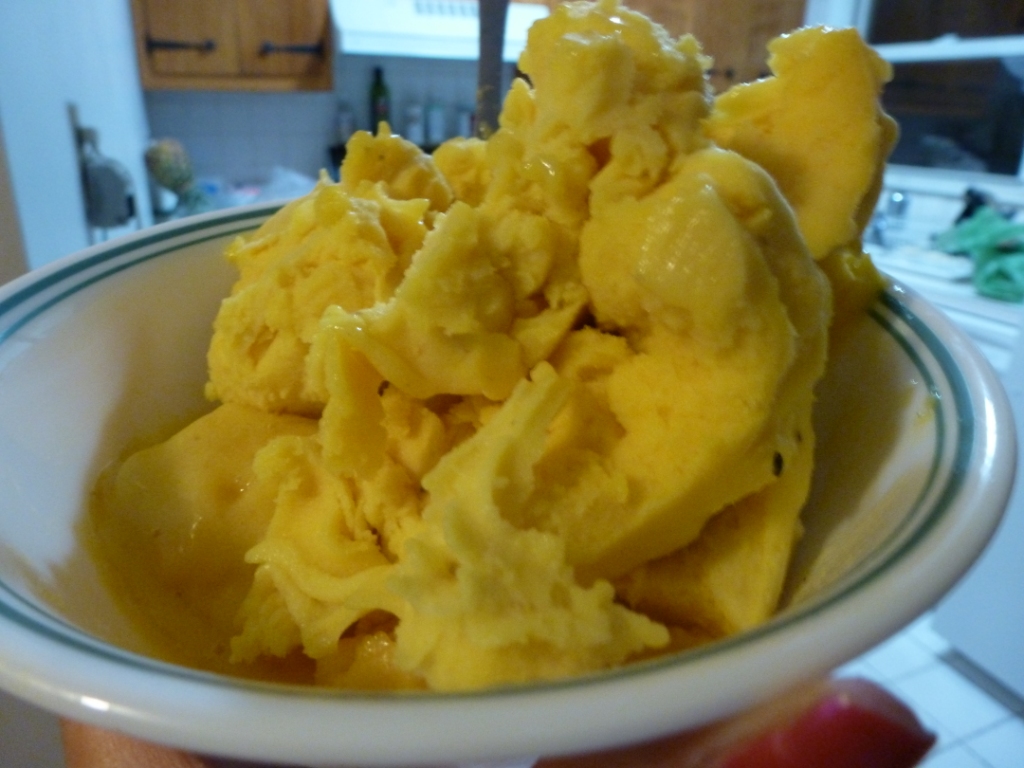
So easy and so quick to make, and a great way to get some potassium, zinc, iron, and manganese, not to mention vitamins A, B, C, and E! This raw vegan, gluten free delight is my favorite way to eat fruit! You can use other fruits, of course, instead of mango and pineapple, but the banana is necessary to sweeten it. I find that raspberries result in a slightly unpleasant texture due to the seeds. The easiest way to make this is to use a juicer with a homogenizer attachment, which should be found with most single and twin gear juicers. I’ll provide a recipe for use with a blender but I cannot entirely vouch for it, and it may result in more of a soft serve than a sorbet.
Ingredients:
1 frozen ripened banana
1/2 package frozen pineapple
1/2 package frozen mango
Juicer Method
Break up the banana into 6 pieces.
Put through juicer using homogenizer attachment, alternating fruits. I put a couple pieces of pineapple, followed by a piece of banana, and then a couple pieces of mango.
Blender Method
Let banana sit out at room temperature for about 10 minutes.
Blend pineapples and mangoes to break them up, then add the banana.
You may have to stop the blender and scoop the sides many times before everything comes together.
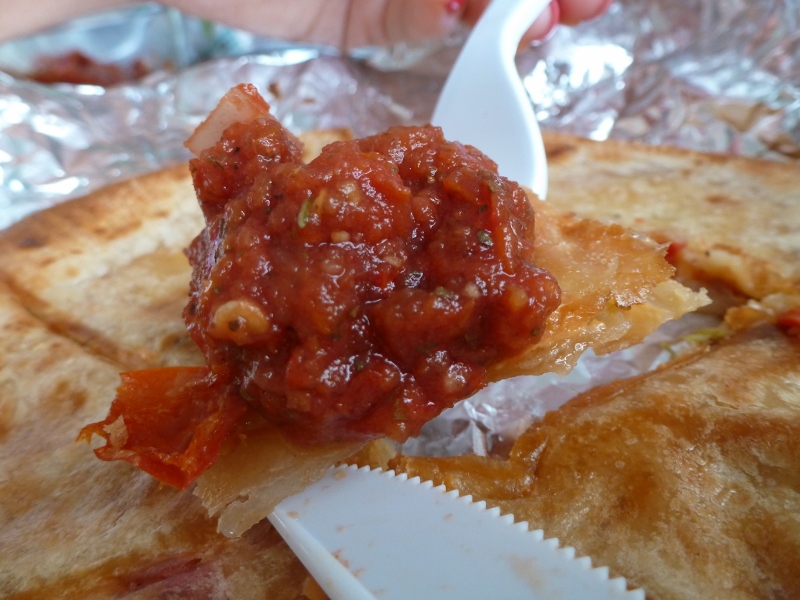
I seriously, seriously love these quesadillas. When I first started going vegan, these were my go-to meals. They are so delicious and very easy on the digestive system. Cleanse-friendly! For those who are having trouble weaning off dairy, I highly suggest these quesadillas. It took a while for me to create a salsa I would like that would mimic the jarred salsas, and I think this one does the trick.
The quesadillas themselves are not raw vegan, but I do not cook the vegetables or the cheese I use in them and instead let them get heated up within the tortillas. The salsa is raw vegan, however. This entire recipe can be made gluten free by using the brown rice tortillas.
Now, I use a quesadilla maker to make my quesadillas. It’s an inexpensive piece of equipment which saves me a lot of time and hassle, since it’s so easy to clean and I won’t have to worry about all my ingredients falling out of my tortillas when I flip them.
Here’s how to make it with the quesadilla maker:
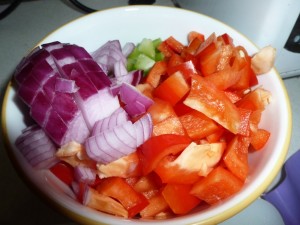
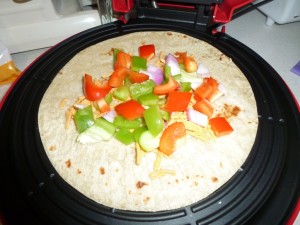
Place one tortilla on quesadilla maker. Add a couple tablespoons of shredded cheese, followed by a third of the vegetables, and then the rest of the third of the cheese. Place another tortilla on top and press the quesadilla maker closed.
Alternatively, you would heat a large pan on medium high heat with a small amount of olive oil (or none if you prefer). Assemble the quesadilla accordingly and then place on the pan, pressing down on the quesadilla until the bottom becomes a golden brown. Flip and repeat the process for the other side.
Serve immediately, or wrap in aluminum foil and store for later. To reheat, simply place the quesadilla on a sheet of foil and heat in a toaster oven. I put it on Toast for Medium-Low.
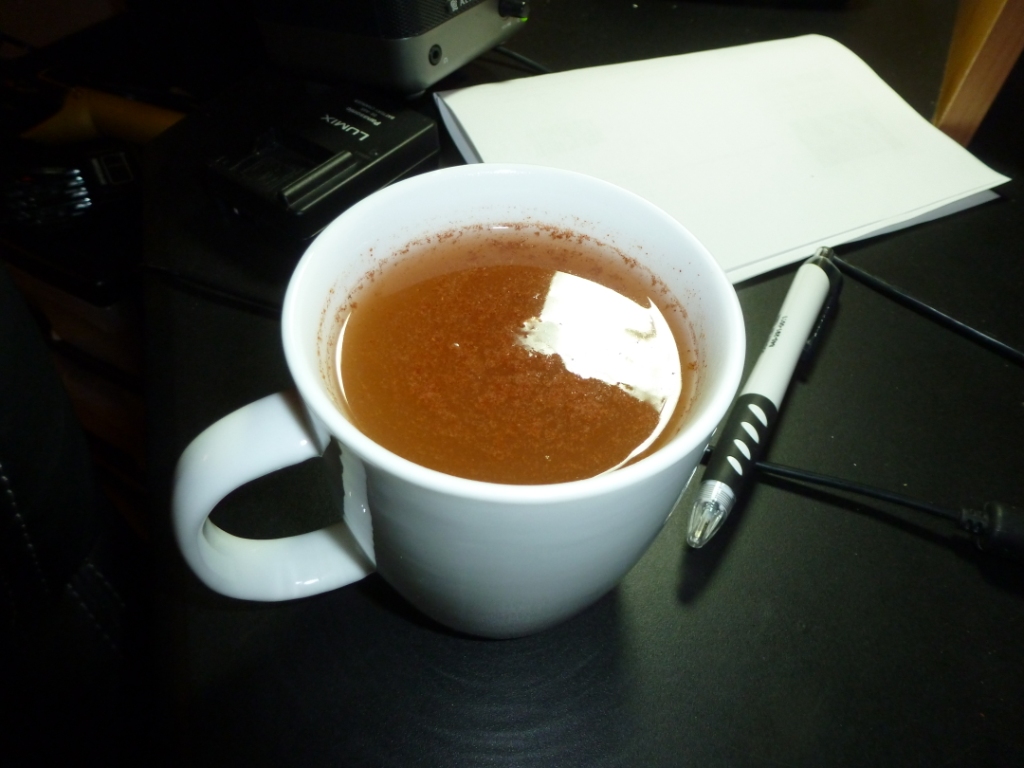
There are so many benefits to this concoction but on top of it, it’s delicious. I drink hot water with raw honey and cinnamon every day. Typically, I add 1 tbsp raw honey and 1 tsp cinnamon to about 1 cup of water. It’s also just a great way to add fluids to your diet if you don’t like to drink water.
Get them here:
Out of the slew of purported benefits, I can definitely personally attest to a few of them.
Relieves sinuscongestion – I’ve had a couple experiences of something entering my nasal passages and causing sneezing fits and my sinuses to get majorly congested. I know one was from the air conditioning at work and the other I am guessing was some sort of dust that lodged itself deep into my nose. When that happens, I aim for 3 cups a day of this concoction, and let me tell you, it really does the trick. I will literally feel some sort of relief immediately after drinking, and complete relief within a few days.
Kickssicknesses – On a similar note…I haven’t been sick in 9 years so I can’t say for myself, but I did tell people to try this out when I saw that they were sick. One of them now drinks it every day too because of that, and the other told me it normally takes her 10 days to get better but instead, she got 90% better over the weekend! For you skeptics out there, she started drinking on a Thursday or Friday, not on a Monday or something.
Aids digestion– Drinking this helps get things moving in your colon. It might be beneficial to drink it before a meal. Based on personal experience (and the testimony of someone else I know), it seems that the more junky the food you have inside you, the more likely your body will push things out of your colon…so maybe it’s a detoxifier as well. I’m going to go with it.
Other benefits include:
lowers cholesterol and strengthens the heart
relieves (and maybe even cures) arthritis
prevents bladder infection by destroying the germs in the bladder
cures stomachaches and clears stomach ulcers
relieves gas
strengthens the immune system and protects the body from bacterial and viral attacks
kills the influenza virus
keeps skin fresh and soft, and slows down the aging process
removes pimples (apply a daily paste of 3 tbsp raw honey and 1 tsp cinnamon powder on pimples at night, wash in the morning with warm water)
cures skin infections like eczema and ringworm (apply equal amounts on affected parts)
weight loss by drinking in the morning before breakfast and at night before sleeping (supposedly, it does not allow the fat to accumulate in the body)
cures cancer (based on research in Japan and Australia)
helps fatigue and increases the vitality in the body
prevents bad breath (gargle 1 tsp of each with hot water in the morning)
restores hearing if taken daily, morning and night, in equal parts
Digestive Tea
Now, having said all that, I am going to include a bonus recipe. This is a delicious tea with beneficial digestive properties. The lemon aids in clearing out your liver, the ginger improves the absorption and assimilation of nutrients to the body and soothes the stomach and colon, and the raw honey and cinnamon has all the benefits I just stated above. So try it out! I make this tea on the weekends, since it’s harder for me to slice ginger and squeeze lemon at work.
Makes 1 serving.
Ingredients:
1 cup hot water
a few thin slices ginger root
1/4 – 1/2 lemon, freshly squeezed
1 tbsp raw honey
1 tsp cinnamon powder
previously steeped tea (optional)
Mix all ingredients together.
The reason I add the previously steeped tea is to add flavor, and once tea has been steeped already, it has been naturally decaffeinated. Enjoy!
The rule of thumb for juices is 3:1 veggies to fruits. You don’t want to have too much sugar hitting your body so quickly. Maybe eventually you can make the ratio higher for veggies to fruits.
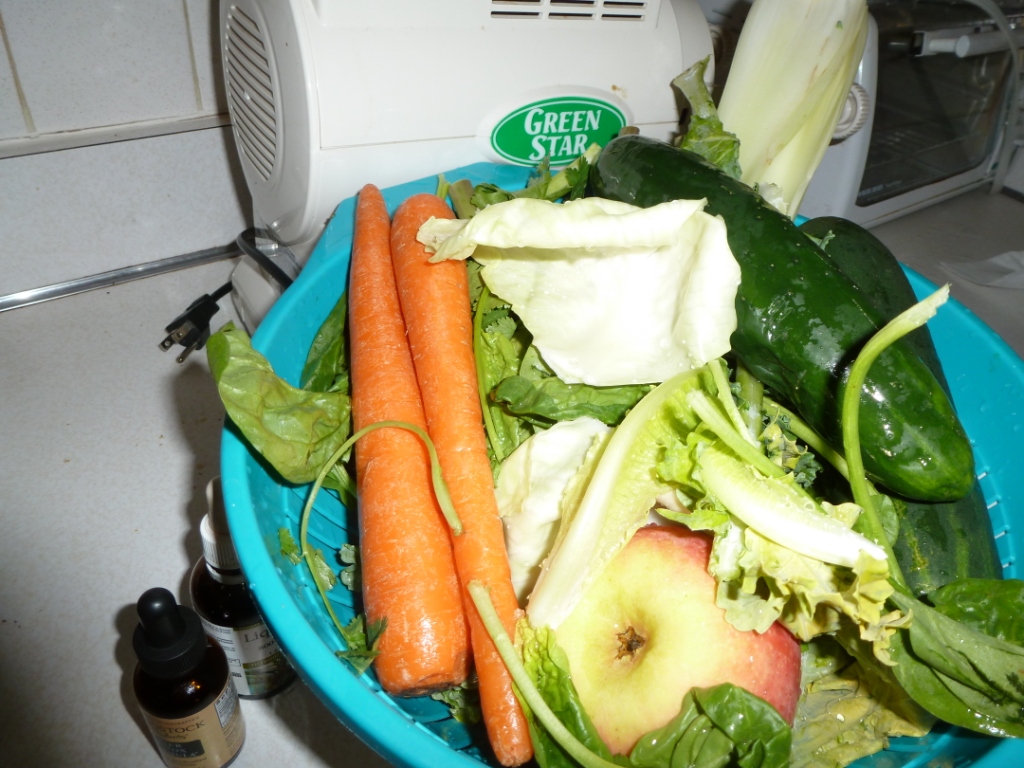
For beginners, I suggest using more mild tasting vegetables like romaine lettuce, broccoli, cucumbers, etc. I have also learned that it is easier to go with less fruit if you have a big, juicy cucumber to make up for it, like this one:
Maaaaaybe that’s too much…
But adding cucumbers and celery will help dilute the taste greatly. As you can see in my top picture, I also supplement my juices with a couple drops of liquid kelp and some milk thistle or a combination of other herbs to aid in liver function, because the liver is one of the most important organs in our body to ensure a properly functioning body and to help in the detox process.
However, if you want to jump into the big timer league, here’s what I put in my juices. Keep in mind these make 32 ounces of juice, so for me that’s 2 servings of juice.
Supreme Green Juice
Ingredients:
2 romaine lettuce leaves
2 kale leaves
a handful of spinach
a handful of cilantro (aids in cleaning out heavy metals from your body)
a handful of dandelion greens
some watercress
2 green cabbage leaves
2 carrots
2 celery stalks
1 inch ginger root
4 asparagus stalks
2 small-medium cucumbers or 1 large cucumber
1 apple
a few broccoli heads and stems
Add all ingredients into juicer. I like to add the leafy greens first, then the ginger, carrots and broccoli, then the cucumber and apple, and finish it off with the celery.
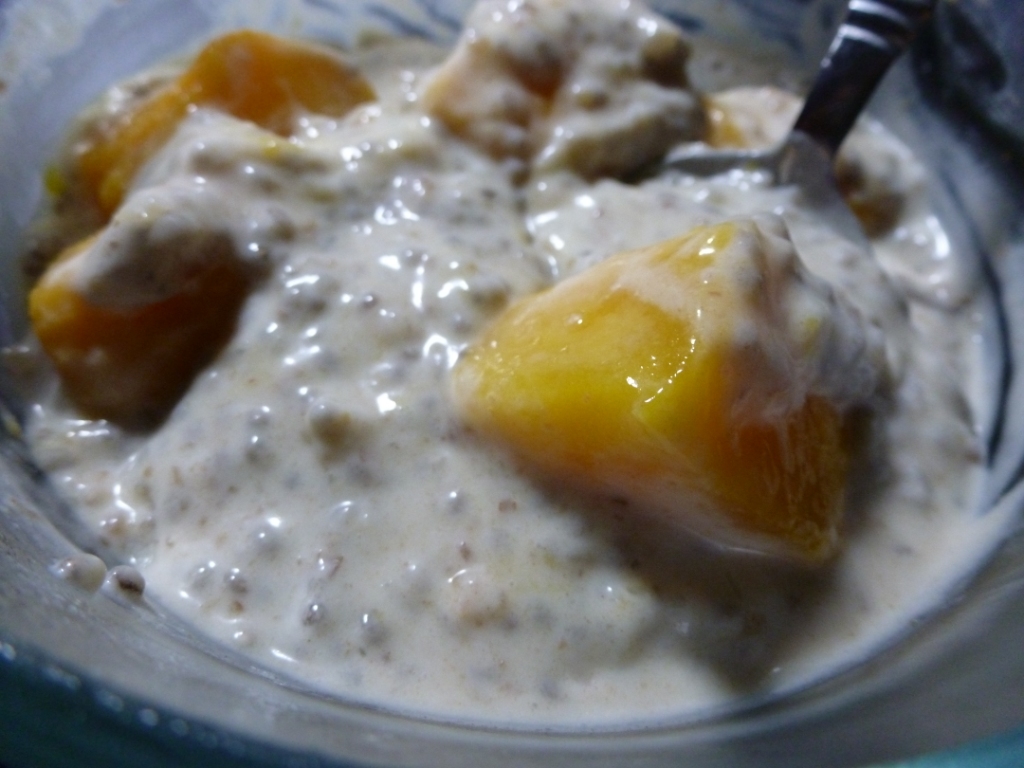
If you haven’t already heard, chia seeds are awesome for you. They have those essential Omega fatty acids and have plenty of protein and fiber. They are incredibly useful when you want to figure out a way to have guilt free yet absolutely healthy and nutritious pudding. This totally hits the spot for me when I want something sweet, cold and creamy. You can use any frozen fruit you want, but I love adding frozen mango because as the mango defrosts, the juices spread throughout the rest of the pudding.
Chia seeds are also wonderful for your digestive system. So if you are looking to lose weight, definitely have some of this raw vegan, gluten free pudding!
Divide mixture into 4 containers and stir in 1 tbsp seeds into each container.
Top with frozen fruit and let sit in fridge for at least 2 hours. Keeps for about 4 days.
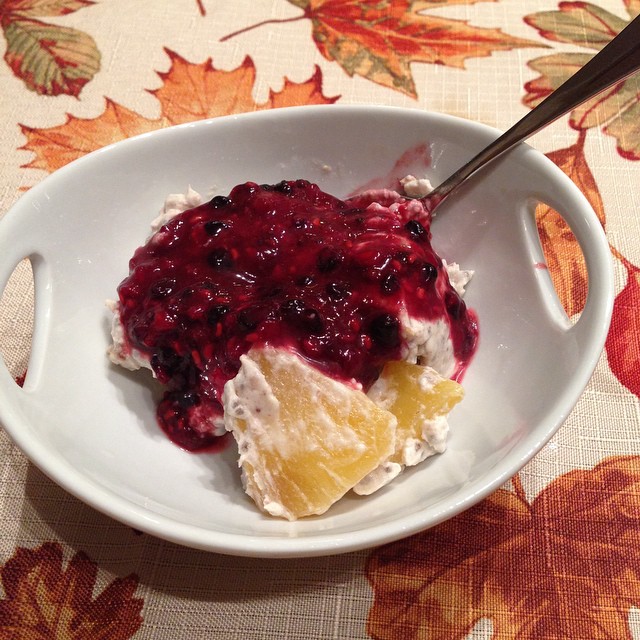
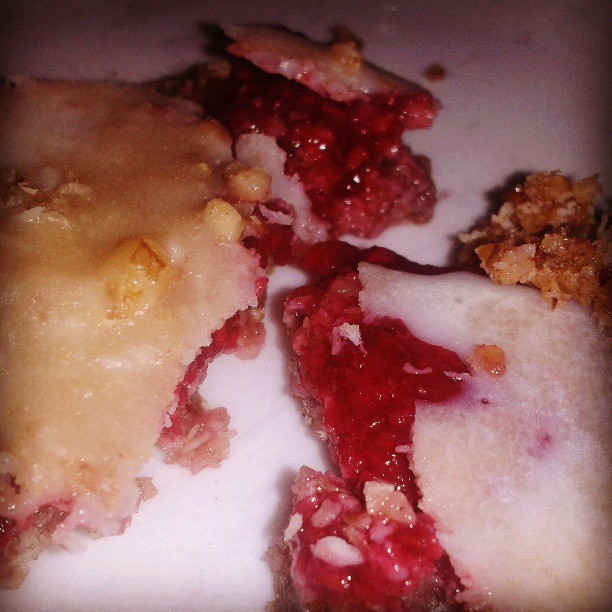
Bonus: Raw Vegan Berry Compote
I whipped thi1s up using leftover berries and some sweetener, so keep in mind these measurements are approximations. It is super simple but still delicious. Frozen leftover pineapples were included within the picture shown below.
Ingredients:
1/2 cup raspberries
1/2 cup blackberries
2-3 tbsp agave nectar or maple syrup
Purée half the berries with the agave nectar or maple syrup.
Add remaining berries and pulse.
Serve by spooning some of the compote on top of the pudding. Store separately from pudding.
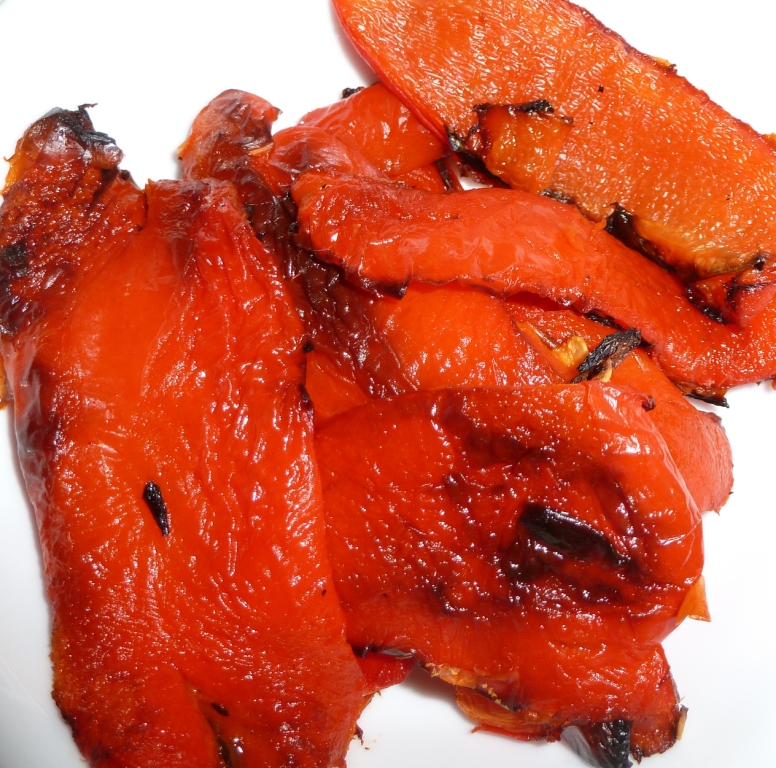
Step 1: Go to the store and buy a jar of roasted red peppers.
Step 2: Return the jar and buy red peppers from the produce aisle.
Roasting your own peppers is significantly healthier than buying them, and you control what gets added with your peppers. I roast mine absolutely plain, but you can drizzle with olive oil and/or add salt and pepper. Here’s how to:
Preheat oven to “Broil.”
Line a cookie sheet with aluminum foil.
Cut peppers in accordance with their flat sides – so you want to be able to lay them flat.
Lay sliced peppers flat on the sheet with the outsides facing up.
Roast peppers in oven in the top rack for 20-25 minutes.
Remove peppers and place in closed plastic bag for at least 10 minutes.
Remove peppers from back and peel off skin and charred parts.
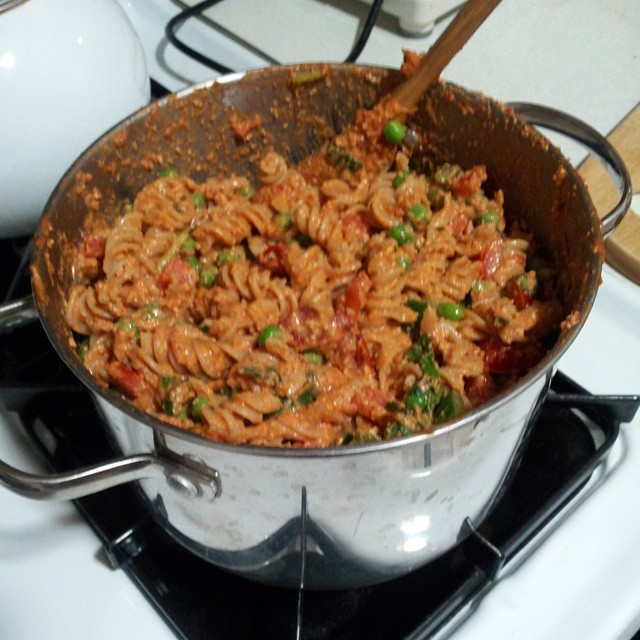
Oh gosh, what can I say about this? Of course, it’s super healthy and it’s vegan. Of course, it’s delicious. You’ll be getting your protein and fiber for sure! And it’s SUPER easy! Probably half an hour to make, which includes waiting for the pasta water to boil. Normal alfredo is more complicated and there’s nothing in it that’s good for you! I love this dish. I really do.
I know eating clean can be intimidating and hard to stick with, so when I want to “indulge” in something fatty, this totally hits the spot! So do yourself a favor and try out this recipe!
I can’t think of many things better than guilt free, healthy dessert. I mean, how can you go wrong with dessert that’s actually GOOD for you?? So I have a thing for raspberry jam. These bars are basically bars with raspberry jam, topped with icing. The awesome part is that they’re made with chia seeds, which are superb for your body and contain the essential omega fatty acids. Plus, raspberry has lots of antioxidants and coconut water has electrolytes. Then you got nuts for more protein and fiber…it’s crazy that dessert can do so much good to your body. So definitely try out these raw vegan, gluten free bars. Your body AND your taste buds will thank you! Eating clean never tasted so good! So check out this awesome and easy recipe below.
Blend water and dates until the dates have broken up.
Add raspberries and chia seeds and pulse until it gets that chunky jam look.
Place in a glass container and cover. Place in fridge for at least 30 minutes for the flavors to infuse and the chia seeds to thicken up the jam.
To assemble, spread this on top of the base.
Topping
1/3 cup dried coconut
1/3 cup raw walnuts
pinch cinnamon
pinch sea salt
Pulse until crumbly. Sprinkle over the raspberry later. Optional to sprinkle a couple tablespoons of raw cacao nibs as well if you like dark chocolate.
Coconut Icing
2 tbsp coconut oil, melted (melts at a little above room temperature)
I’m not usually a fan of Mexican/Texan food, but this vegan recipe is delicioso! It has a slight kick to it, depending on how sensitive your taste buds are, but the combination of flavors makes this dish so amazing. But all you need is a pot and a food processor or blender! So very easy and yummy that you won’t believe it’ll actually help you detoxify and lose weight!
I love this easy to make vegan dish for those days when I’m craving some pad thai! It tastes amazing. Most pad thai sauces are made with refined sugar and fish sauce but this has none of that. You wouldn’t believe that it’s that healthy! I wish I could call this a 1 pot wonder because basically everything is put together in a single pan, but you do need an extra pot to boil the noodles in while you’re assembling everything else. It takes about 20-30 minutes to make, and would still taste great cold! So without further adieu, here’s the recipe so you know how to make it yourself!
 and then the rest of the third of the cheese.
  Place another tortilla on top and press the quesadilla maker closed.